LCE + HSE Kit Assembly Instructions
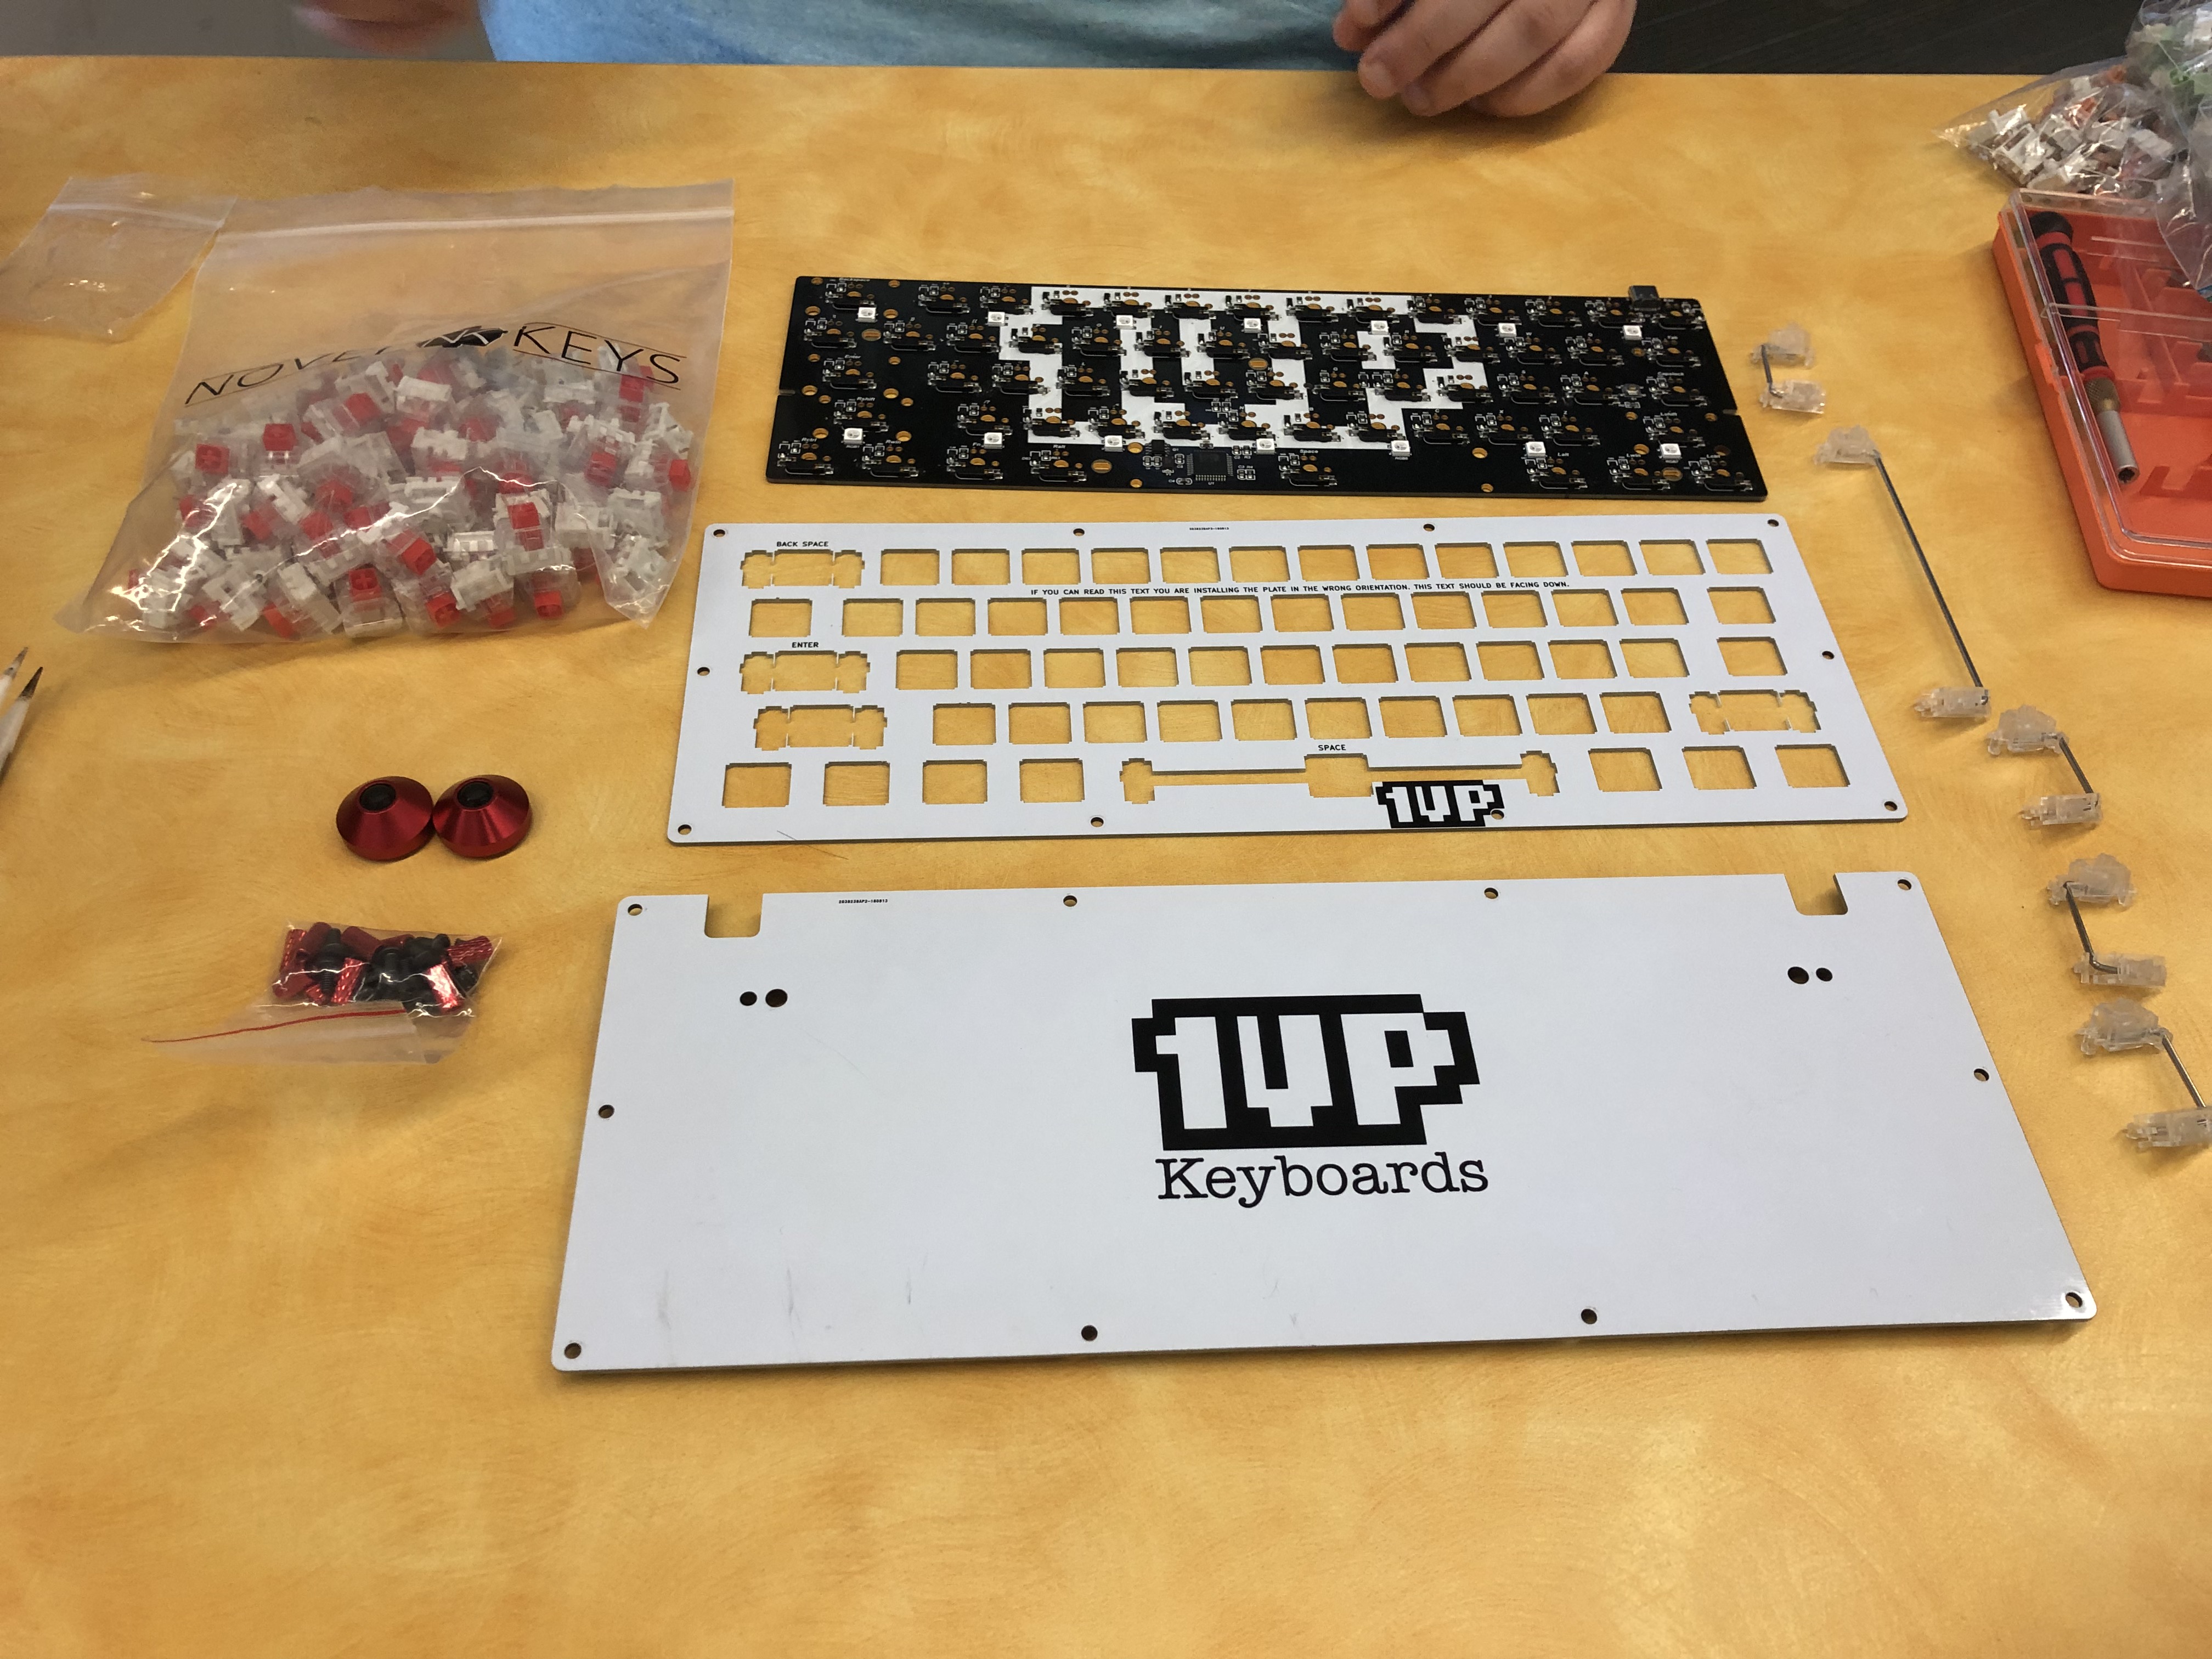
Step1: Gather Materials
(in kit)
- Bottom plate
- Top plate
- PCB
- Switches
- Stand-offs
- Stabilizers
- Feet
(not in kit)
- Tweezers
- Key-cap/key switch puller
- Screwdriver kit (Phillips head and Hex 2.0)
- USB-C to USB-A cable
Step2: Put the stabilizers on the PCB
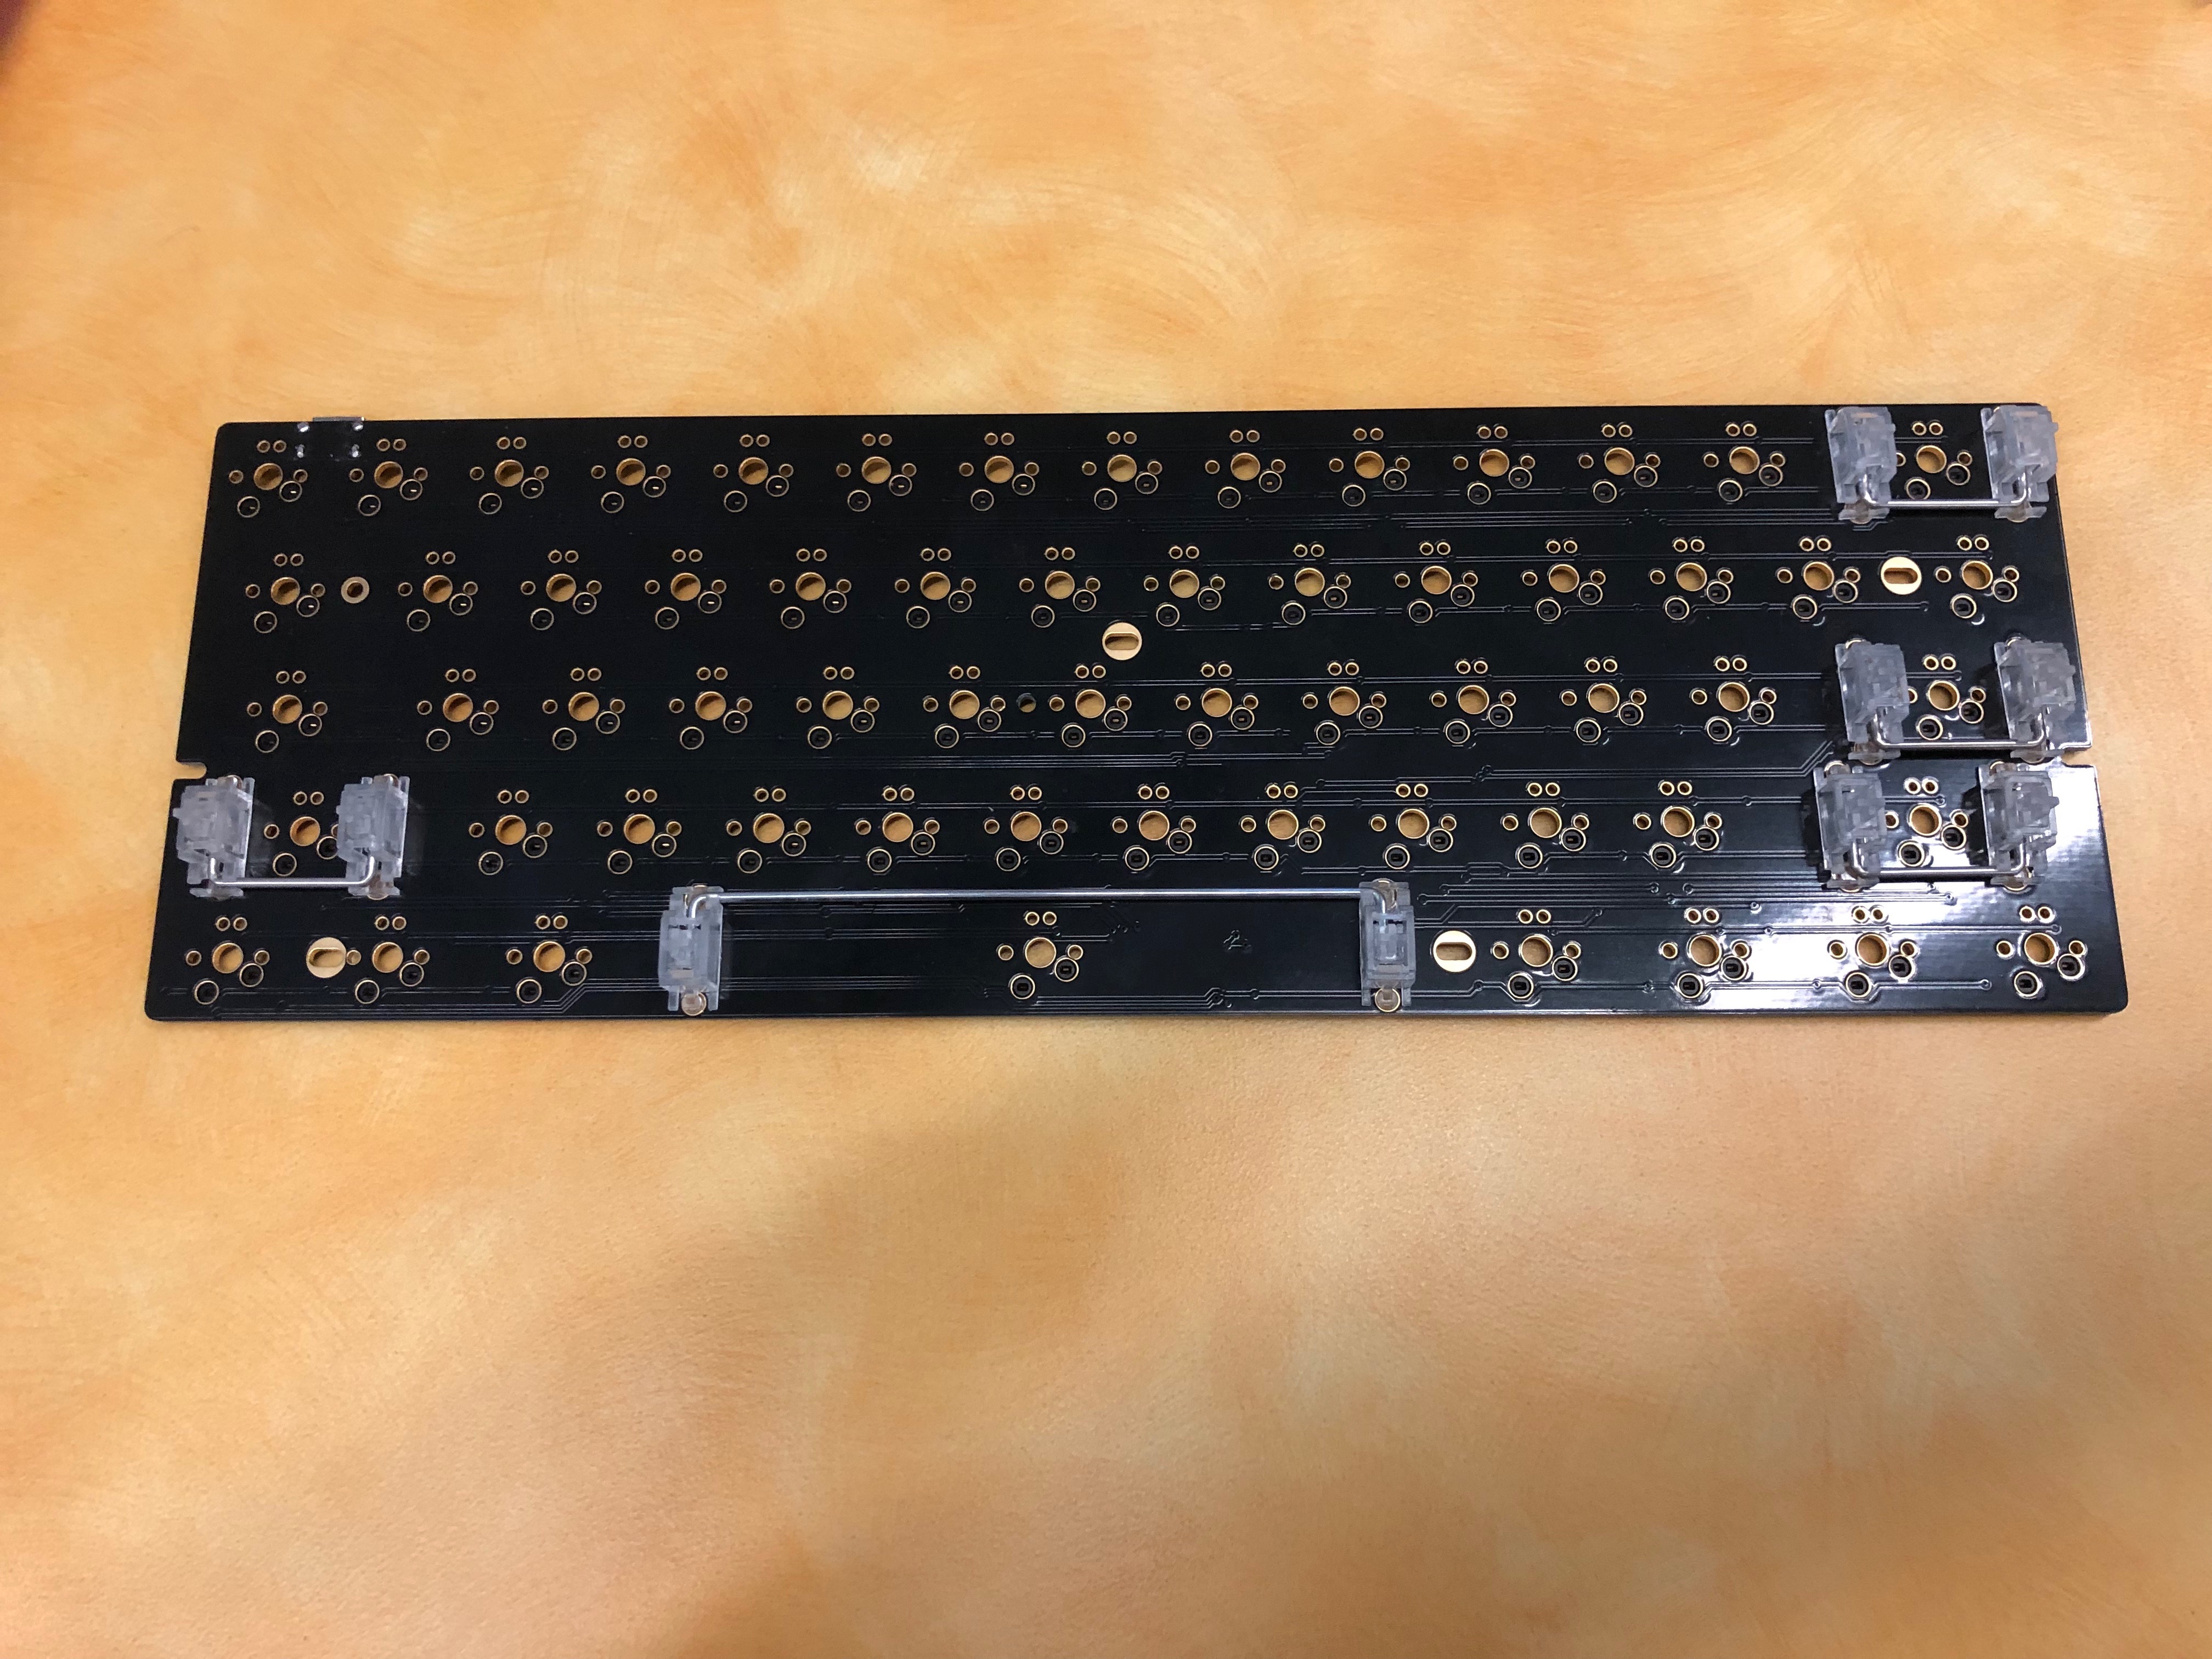
Place the PCB (the black circuit board) down on the table. The 1UP logo should be facing down, with the USB-C port on the top left. Next, locate the stabilizers. Note that one part of the stabilizer has a hook, while the other has a pinch grip. The hook goes in the larger hole, and the pinch grip goes in the smaller hole. Put the hook into the large hole first, then press down on the pinch side until it has locked itself into the board. Once it is locked in, you should hear a “click” type of noise, this ensures that you have placed the stabilizer into the PCB correctly.
Stabilizers should go on the following keys:
- Spacebar
- Left/right shift
- Enter
- Backspace
Step3: Insert Switches
REMEMBER: ALWAYS INSERT SWITCHES ON A FLAT SURFACE
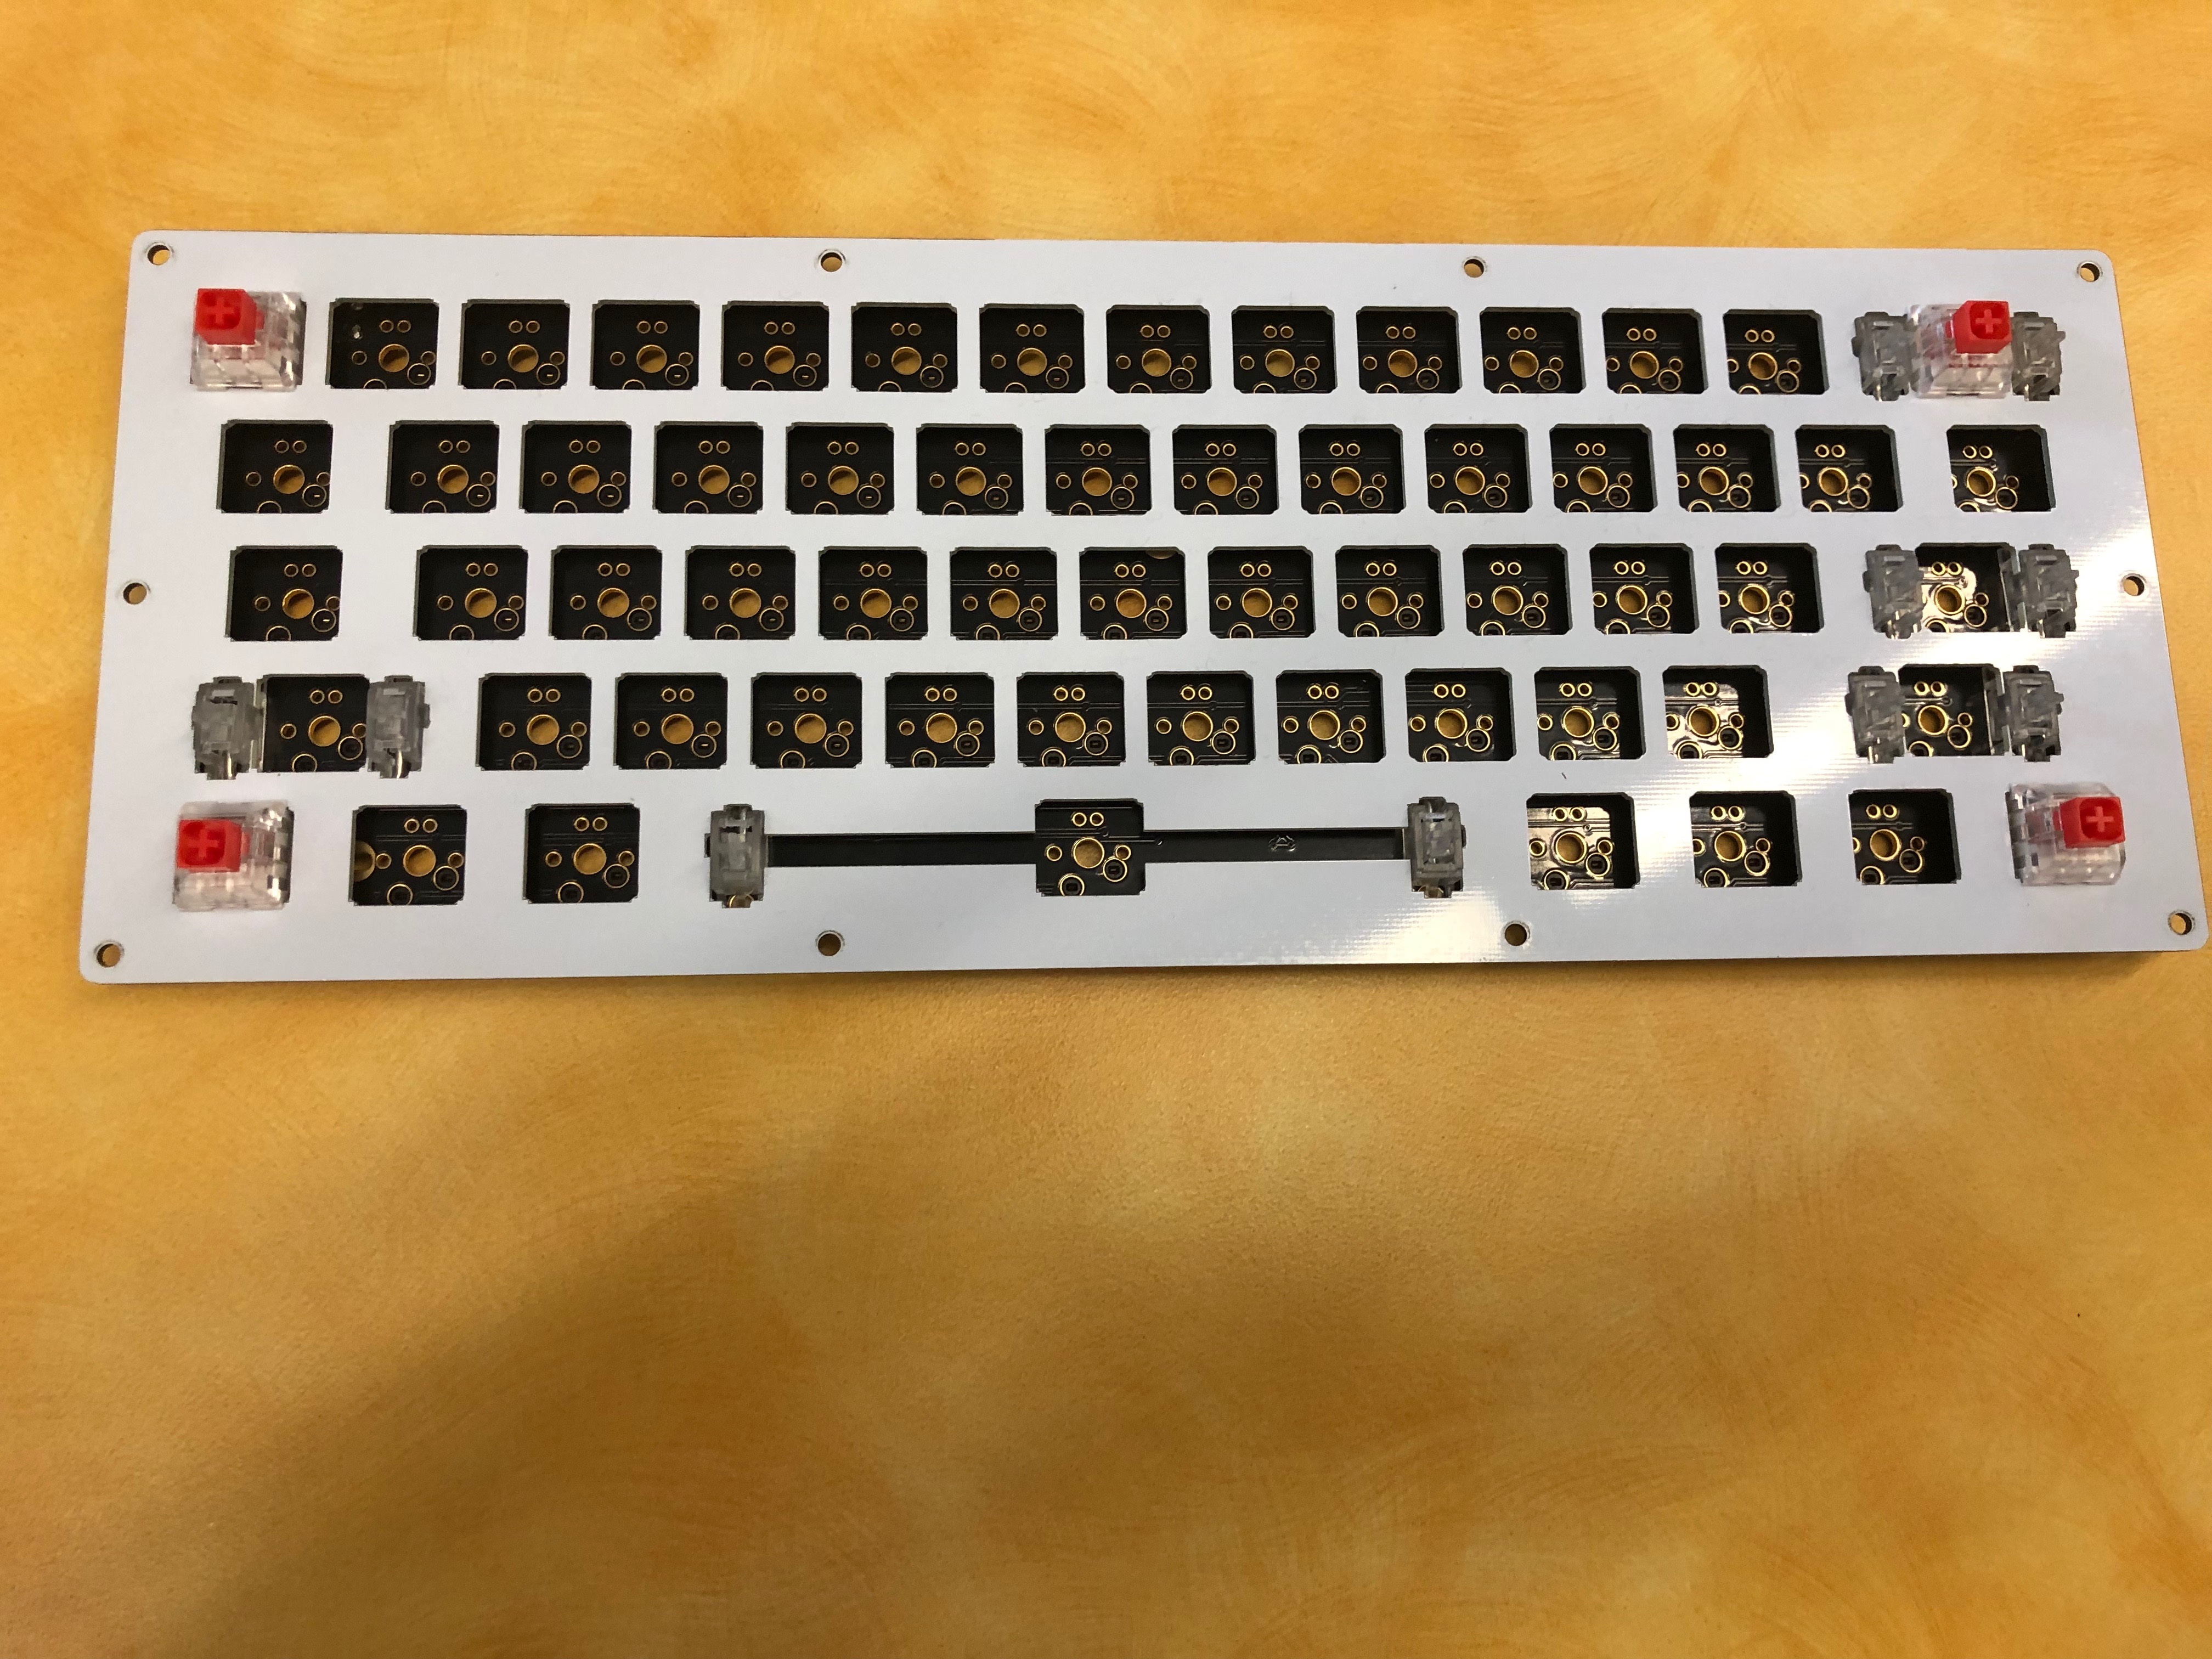
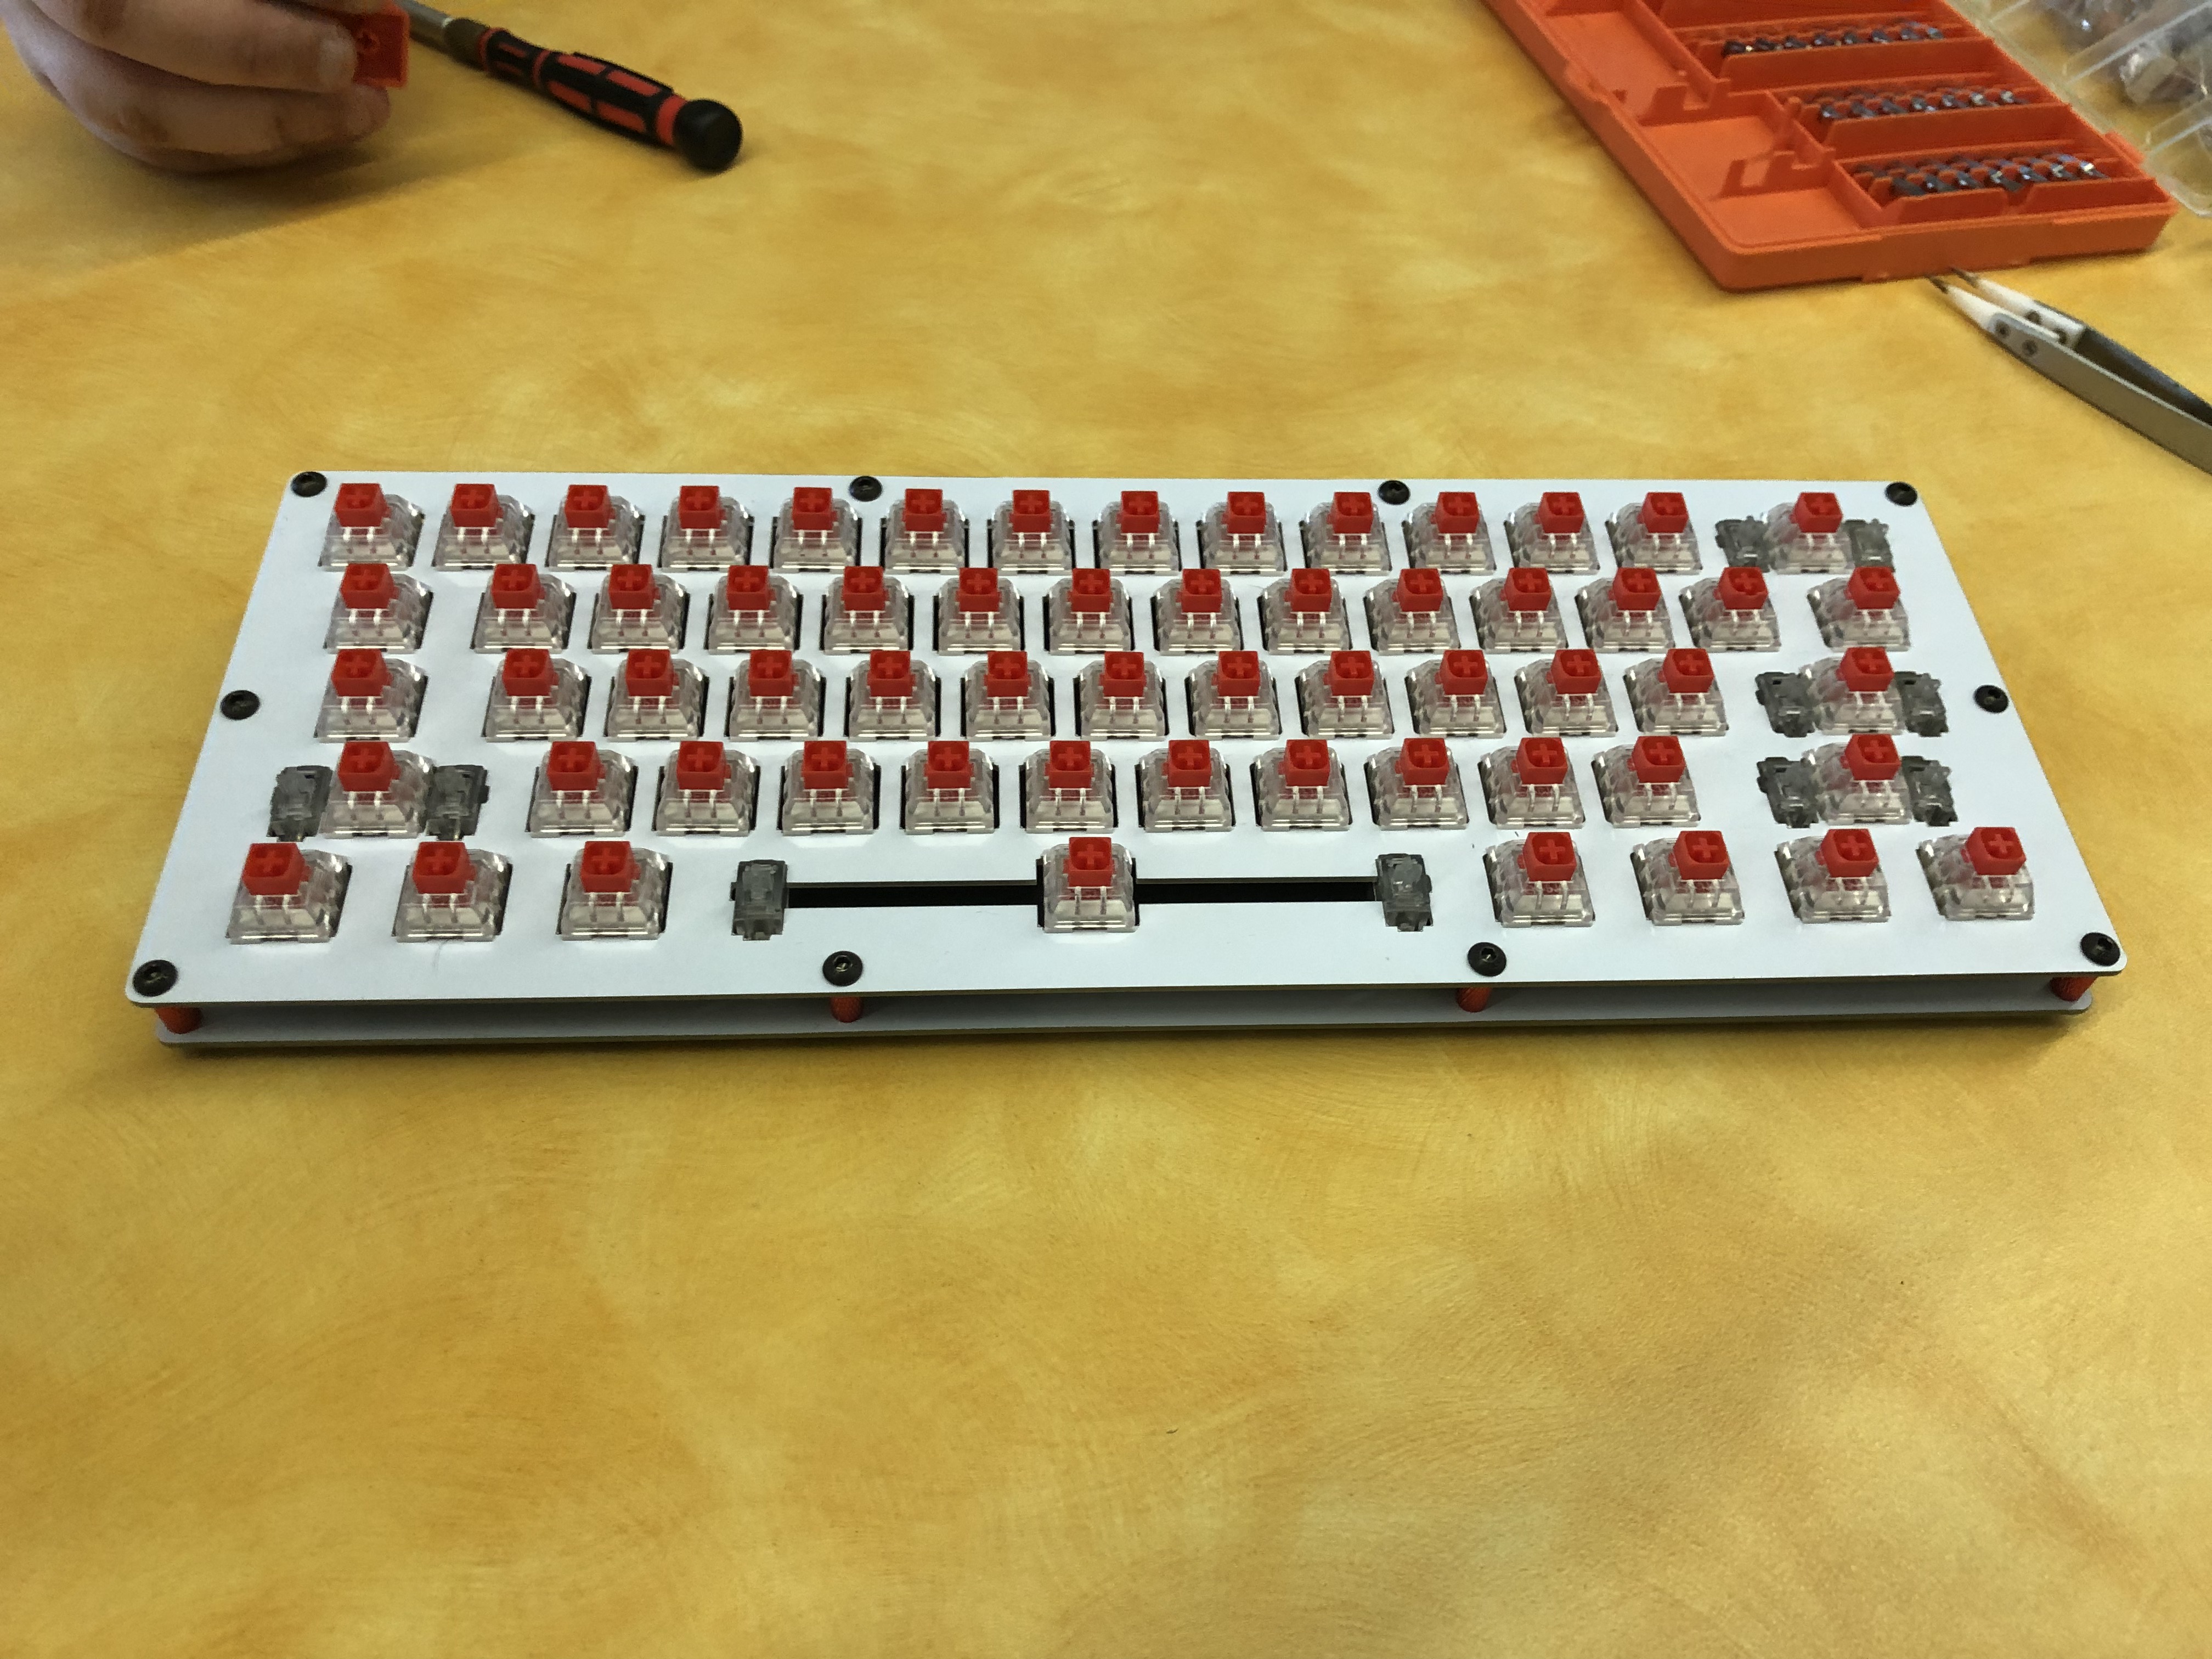
Put 4 switches into the top plate until they snaps into place. Then lay the top plate over the PCB. It should fit perfectly over the stabilizers and look like the photo below. Make sure to line up the board precisely.
Step4: Complete the switches
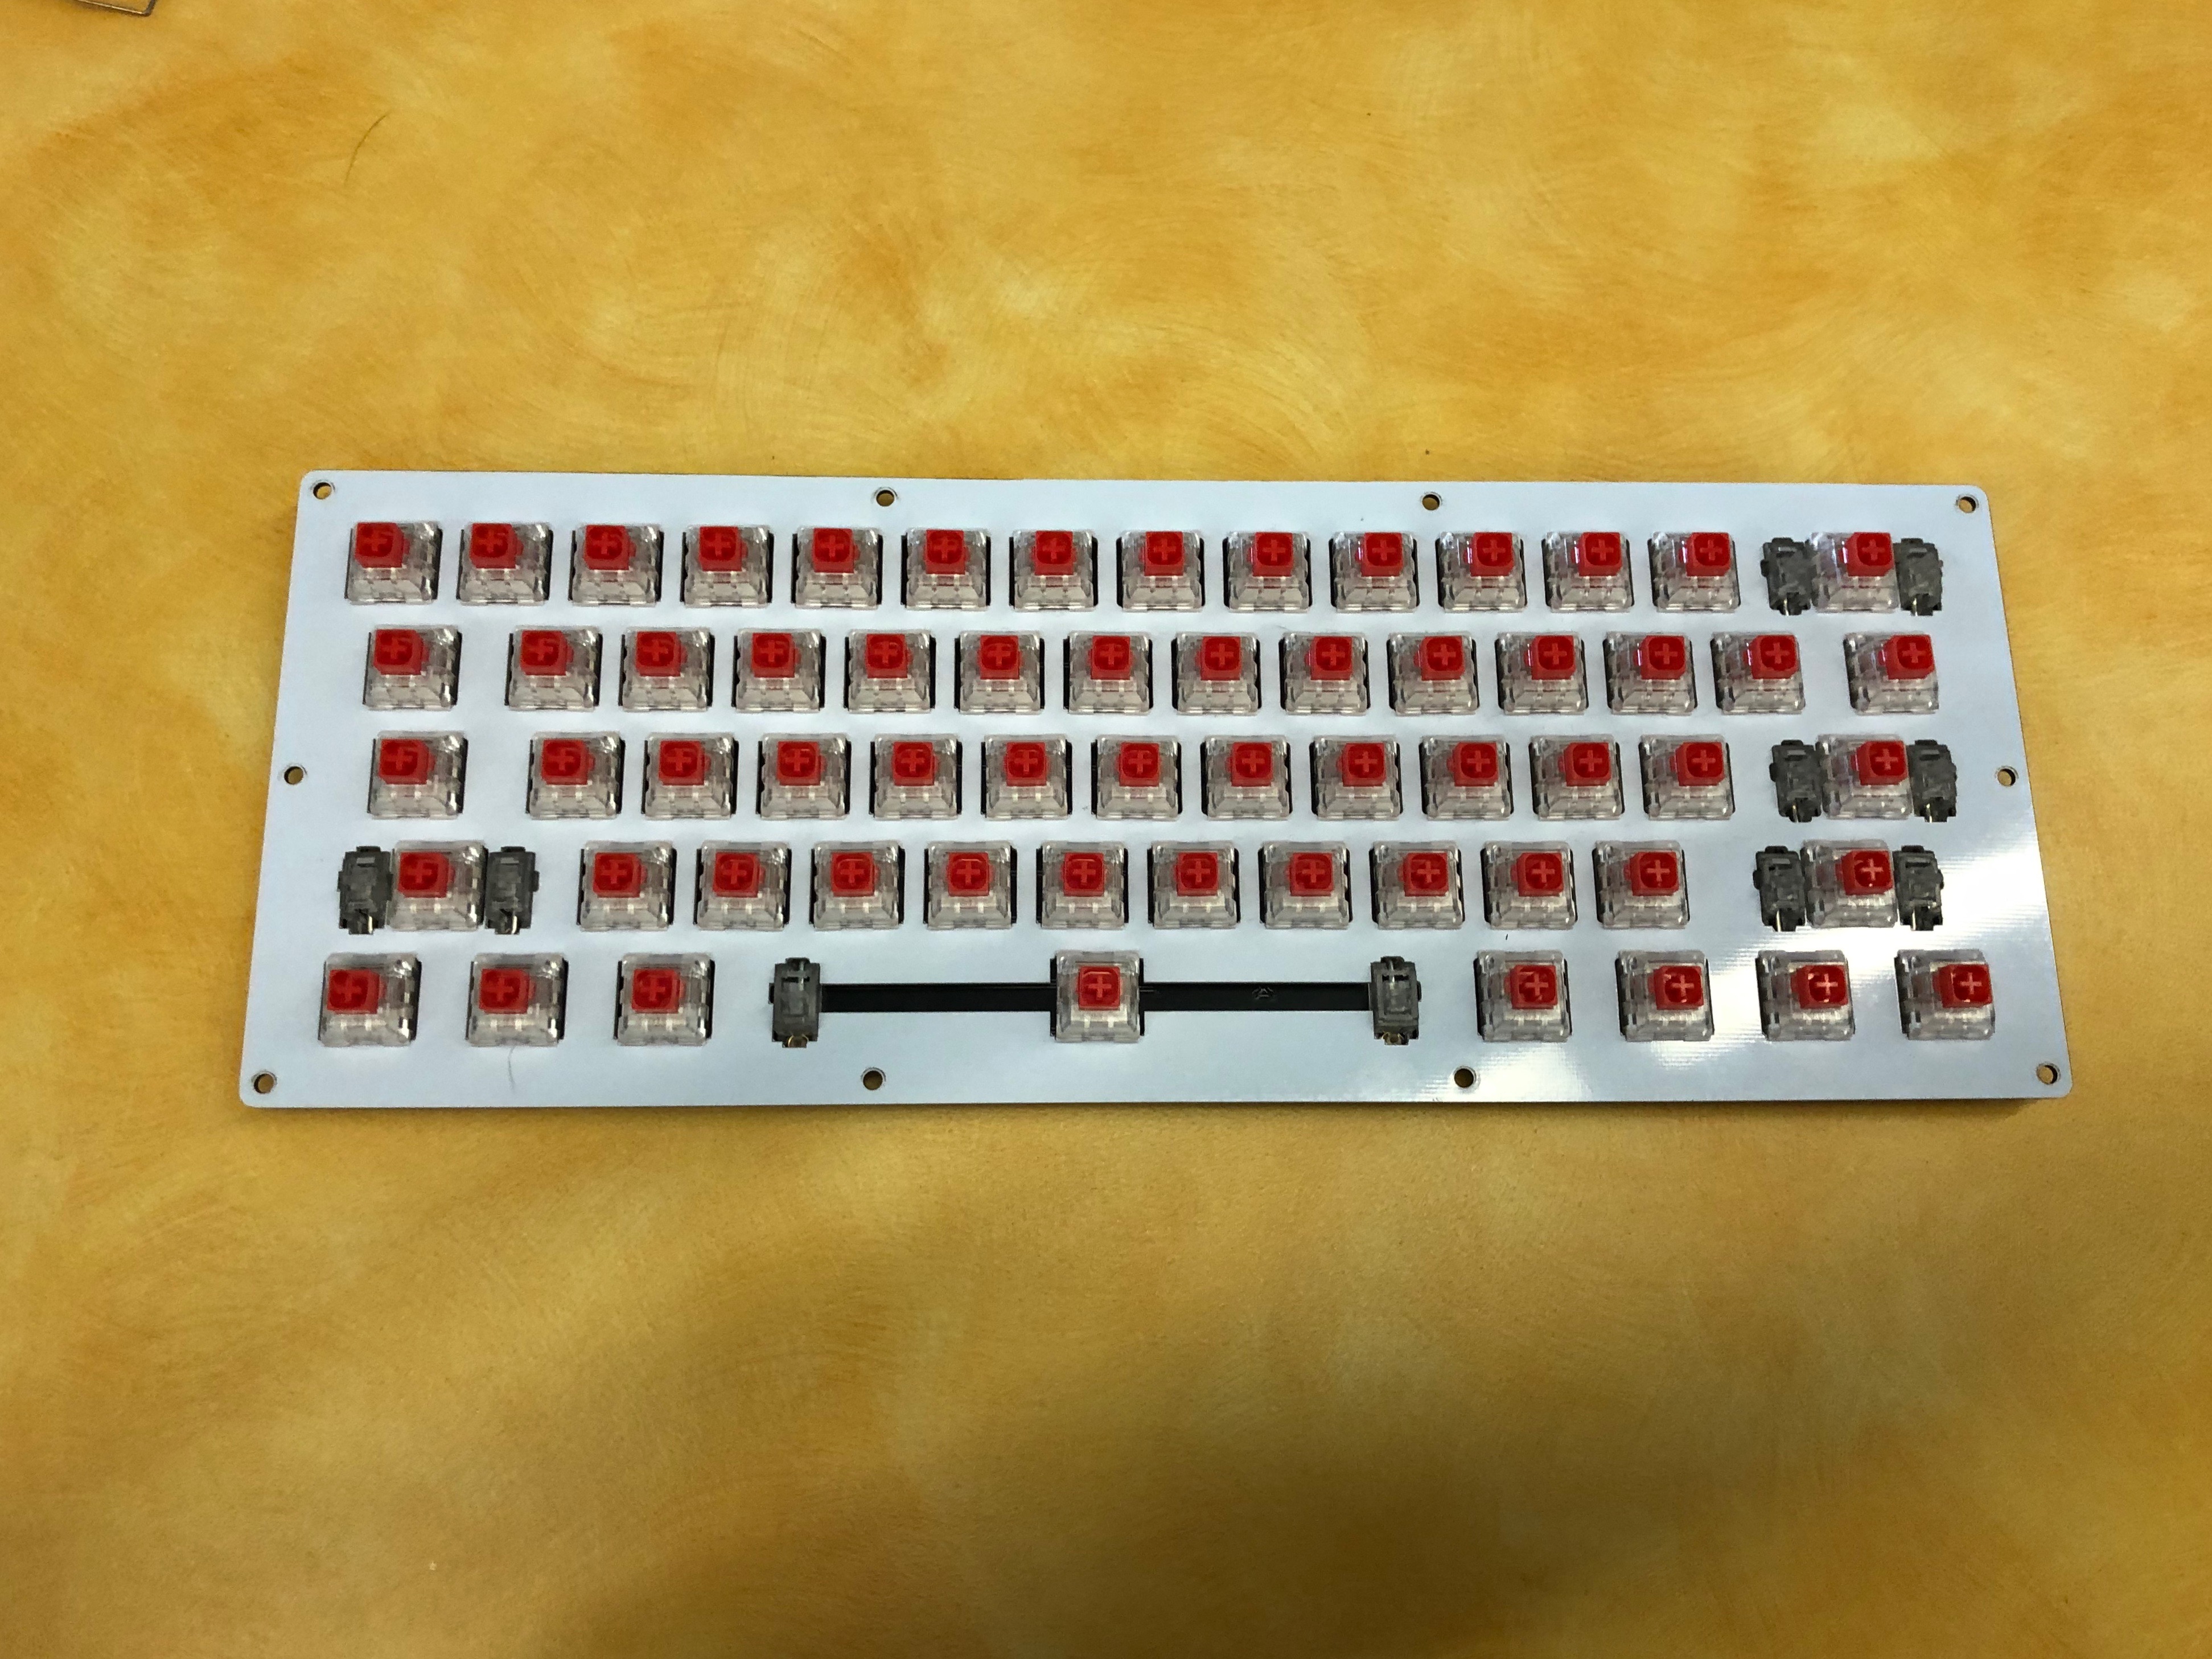
If you find it difficult to push the switches into place, double-check that you have the switch properly aligned with the holes in the PCB. This should not require an excessive amount of force. If you feel that after pushing hard the switch is still not properly seated, remove the switch using the switch puller tool and make sure the pins on the switch are not bent. If they are, try using a different switch, or if you are out of switches try straightening them with your tweezers. Once all switches are in place, press them down firmly to make sure they are inserted and properly connected to the keyboard. Remember to listen for that “click” sound.
Step5: Test
Plug what you have assembled into a computer, go to Keyboardtester.com and make sure that all of the switches are being recognized. If a switch is not being recognized, then remove it with the switch puller and inspect the pins. One switch in particular will NOT show up on the tester – the Function key. This is the key on the bottom row, second from the right.
Step 6: Backplate Assembly
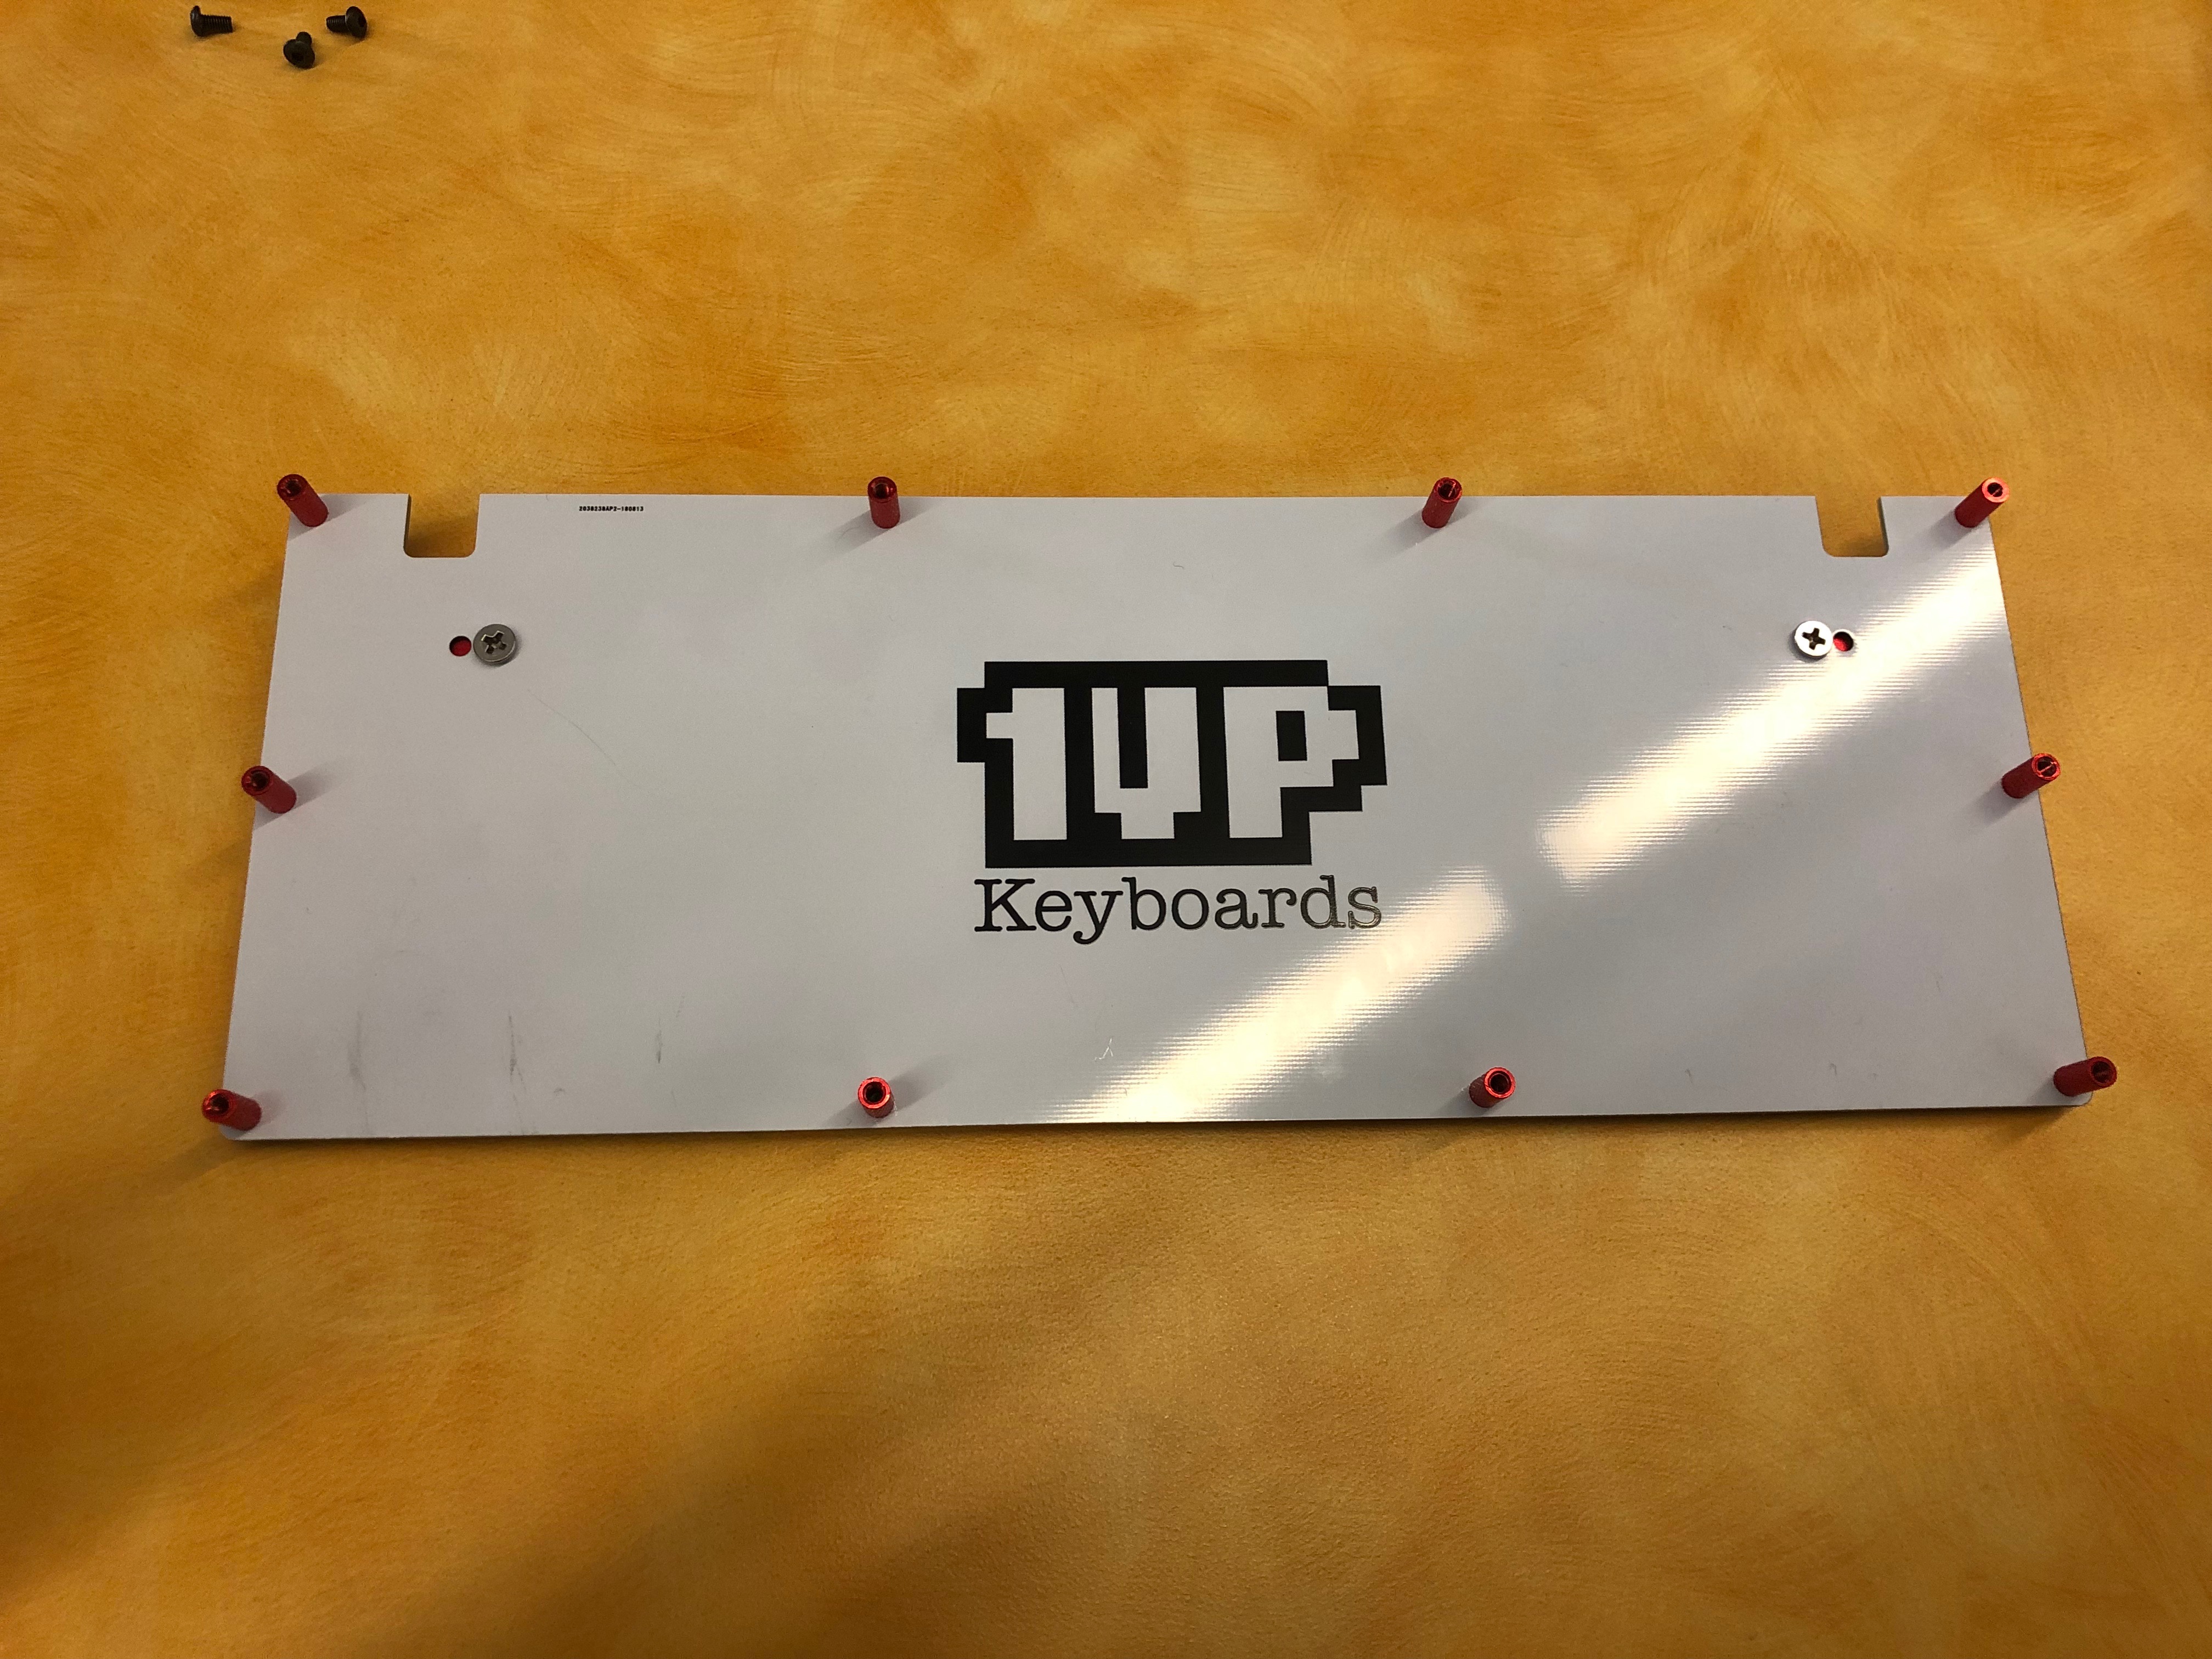
Put aside what you have assembled so far and grab the back plate. Peel the bump-ons from their backing and apply them to the 4 corners of the bottom plate of the keyboard.
Install aluminum feet through the holes on the backplate. For this you will need a Phillips-head screwdriver.
Install standoffs through the bottom of the bottom plate. Screw them in with a Hex 2.0 bit.
Position top plate assembly over the bottom plate and line up the stand-offs. Then screw in the top plate starting with the 4 corners. Continue until all ten are fastened firmly. Once finished, both plates should be firmly attached to one-another with only the stand-offs separating them.
Step 7: Complete the Assembly
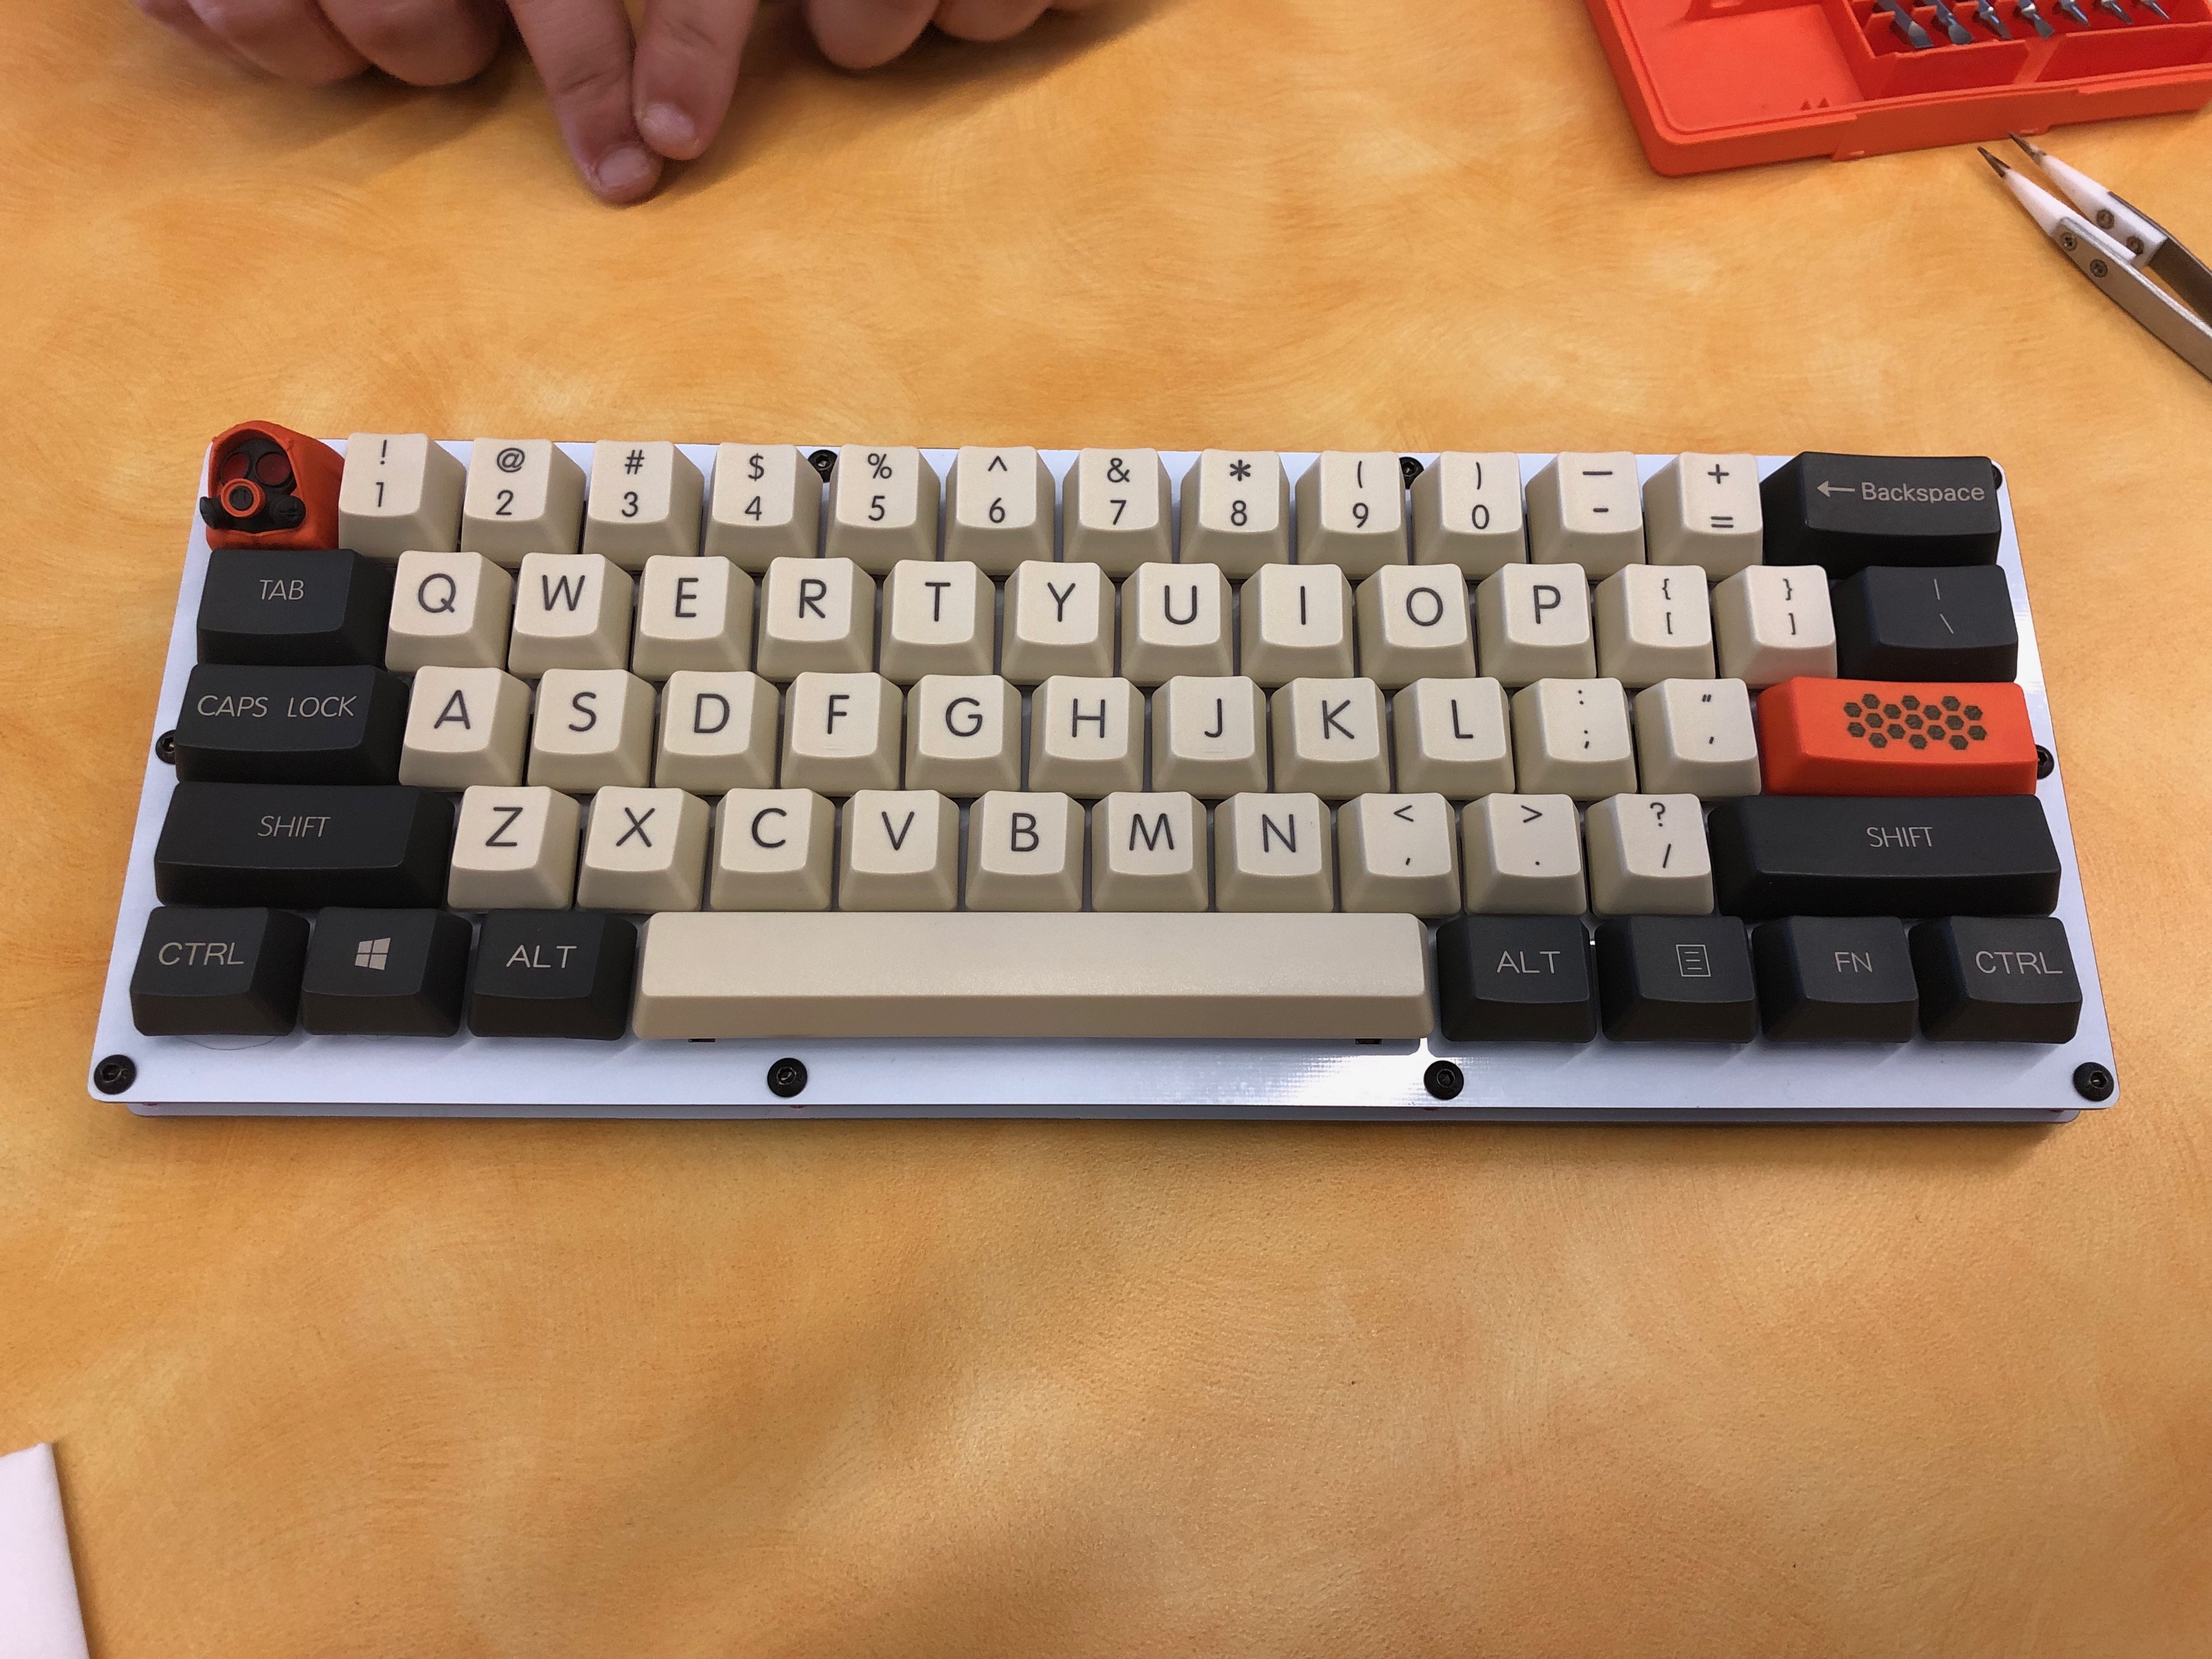
Install keycaps and marvel in your accomplishment! You have successfully built a 1UP 60% LCE HSE! If you are having difficulties with your keyboard or just want to show it off reach out to a community of enthusiasts at https://discordapp.com/invite/TebVDey
Ready to Program? Here’s some great ways to get started:
Download QMK for the richest experience for programming the HSE
Try the visual programmer with QMK: https://config.qmk.fm/#/1upkeyboards/1up60hse/LAYOUT_60_ansi
Follow Us
[et_social_follow icon_style=”slide” icon_shape=”rounded” icons_location=”left” col_number=”1″ outer_color=”dark” network_names=”true”]


