Super 16 Macro Pad Instructions (Advanced users only)
Step 1:
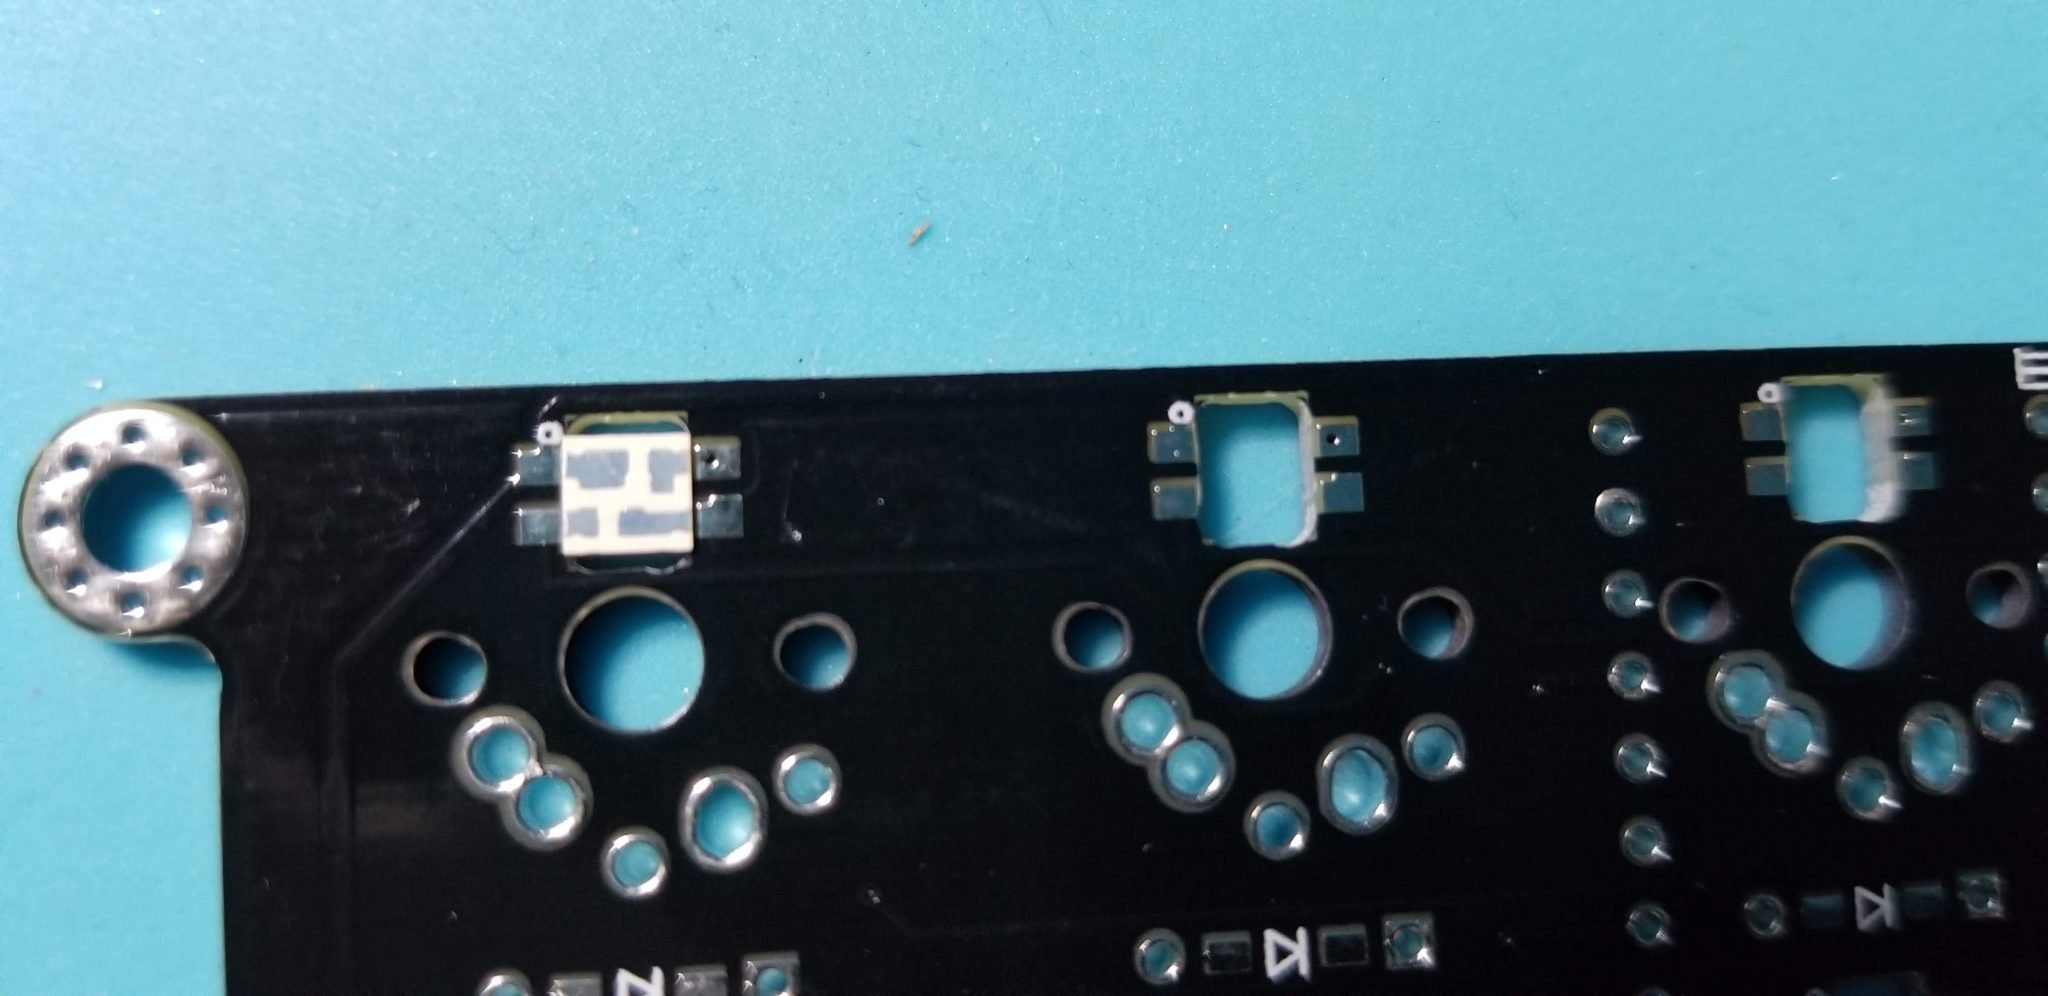
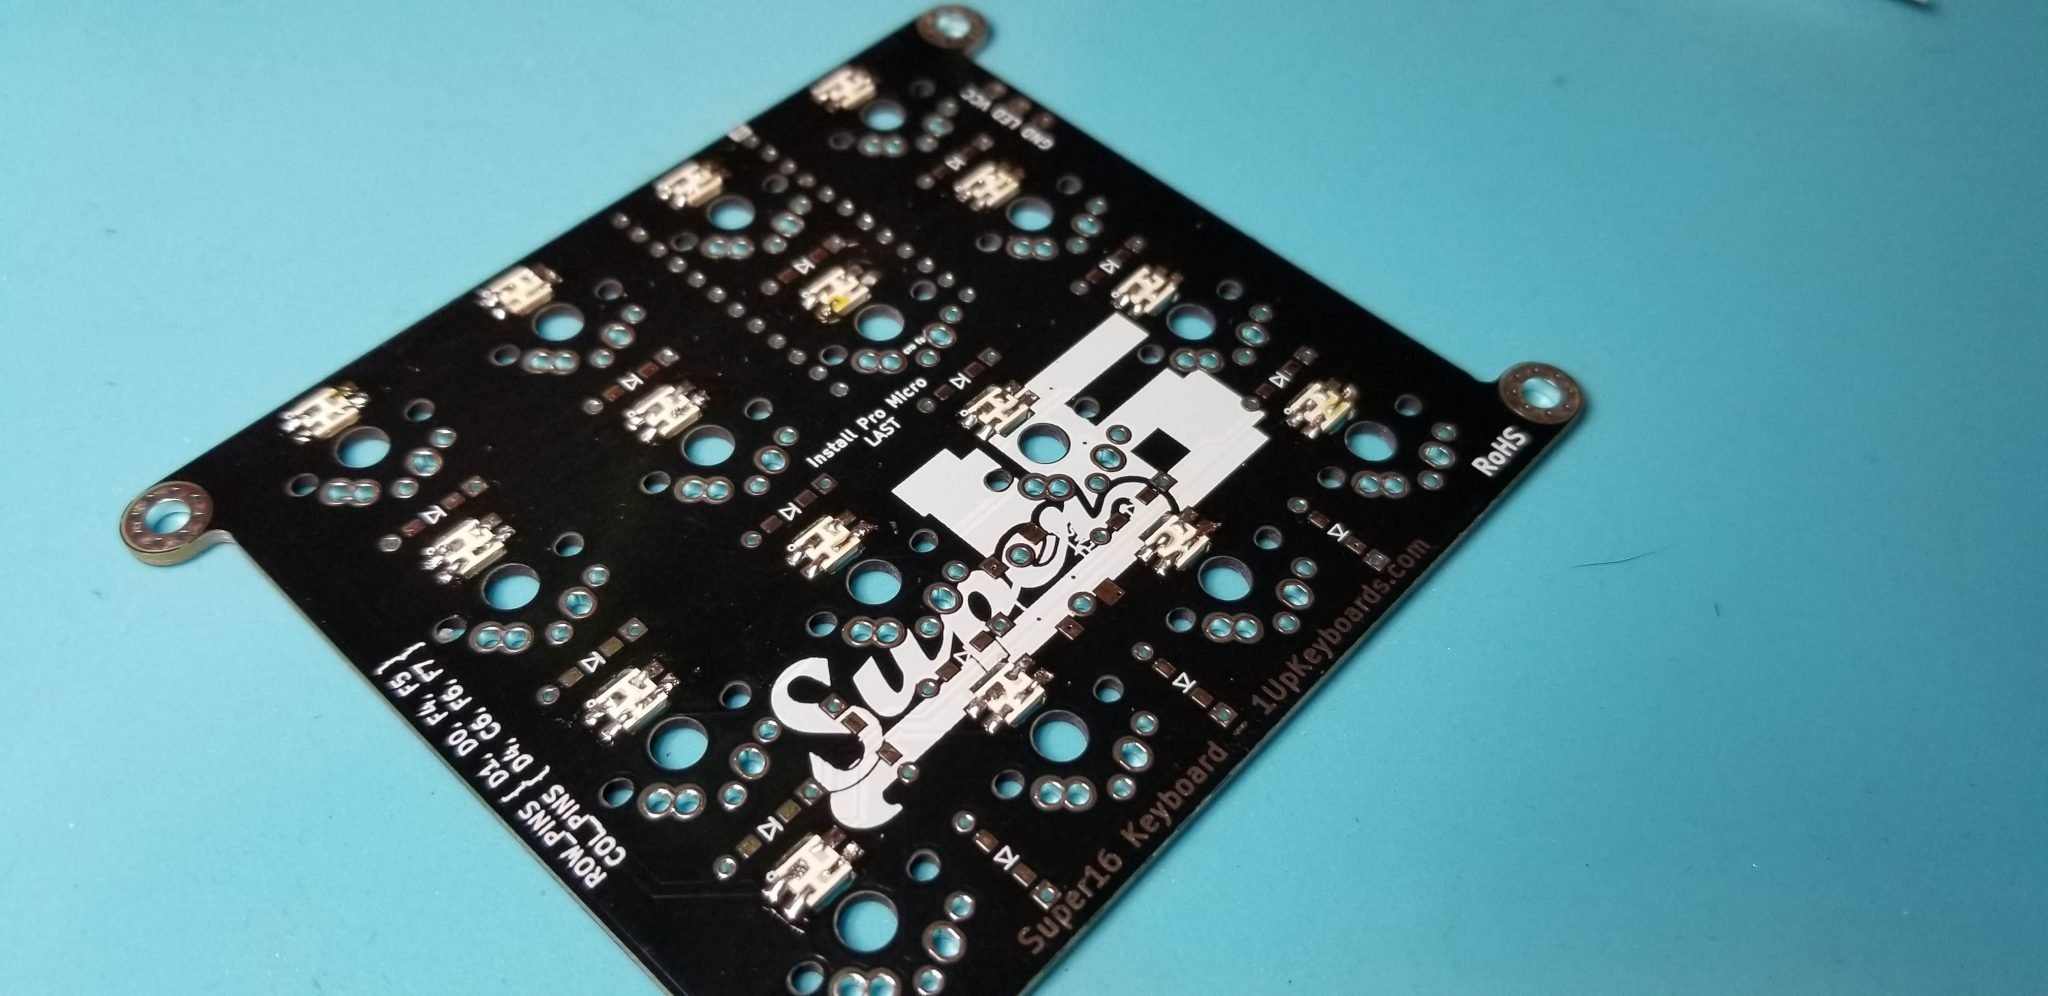
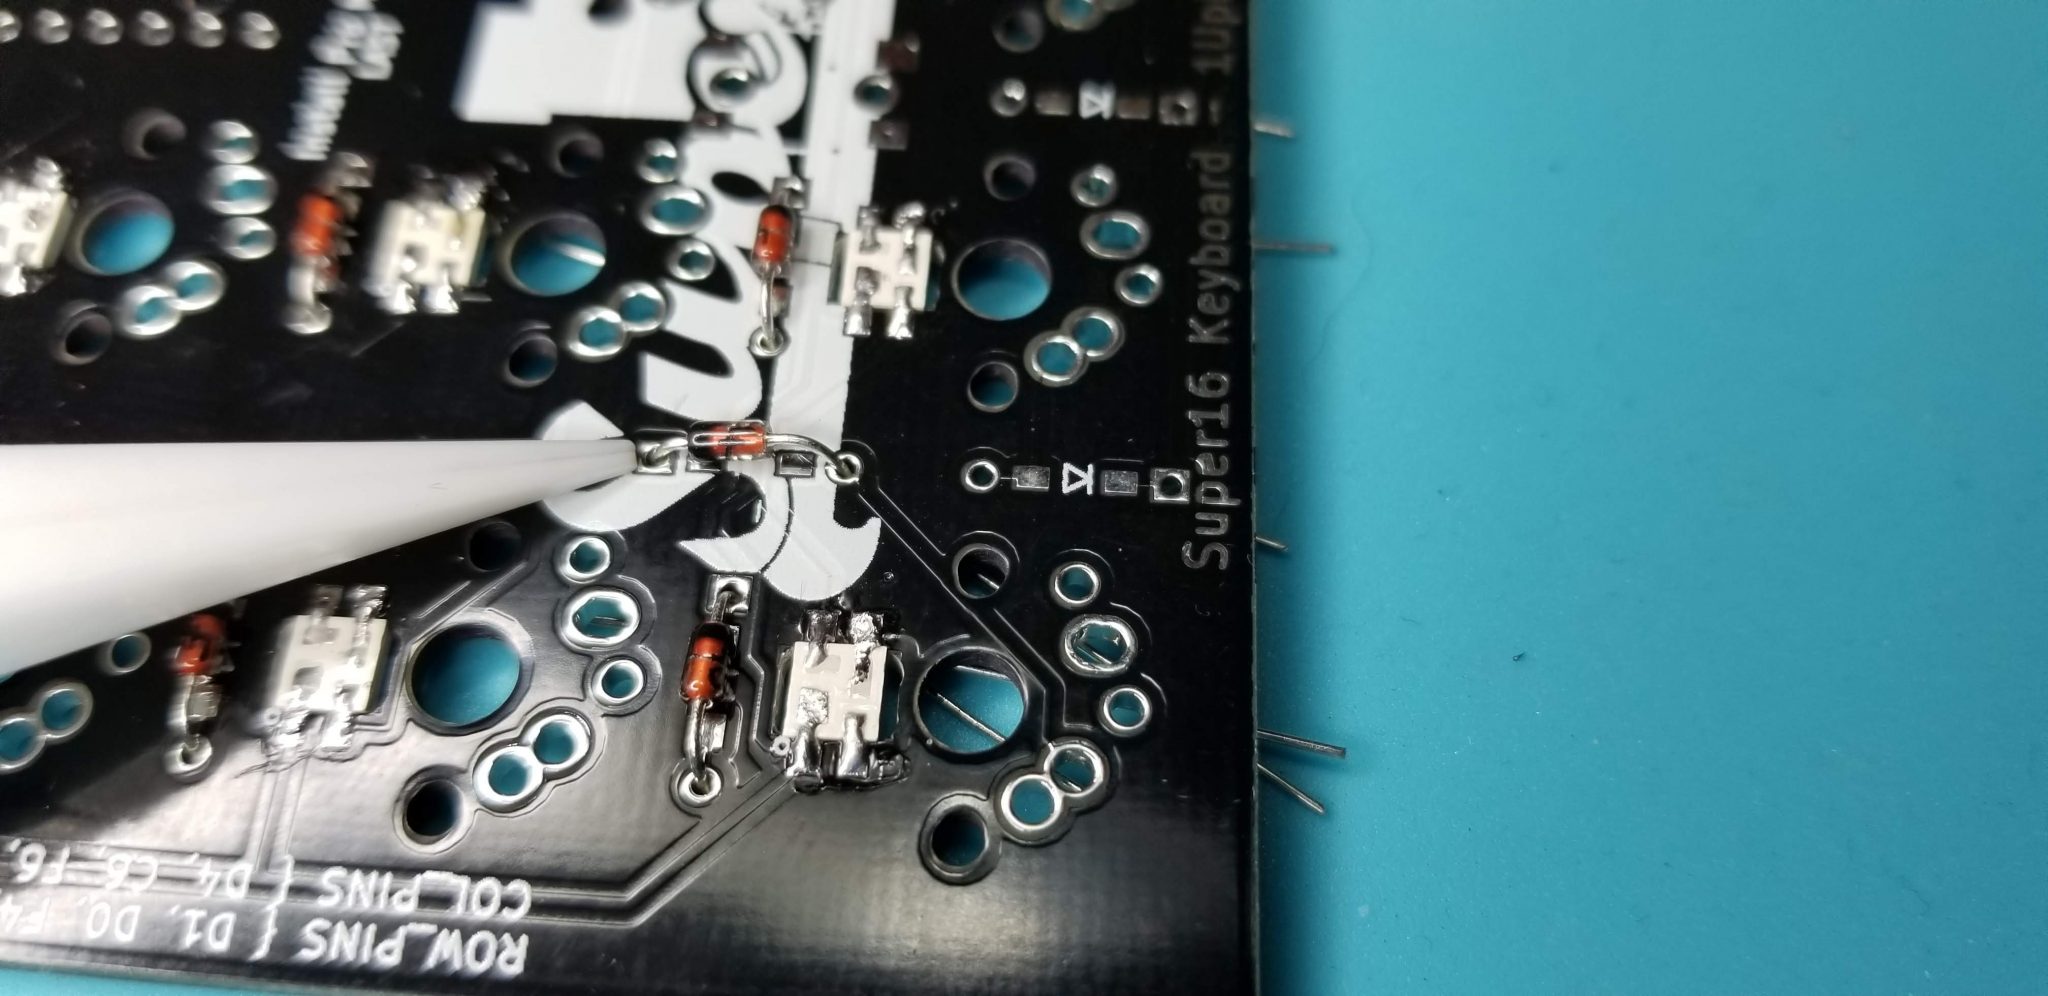
Install in switch LEDs
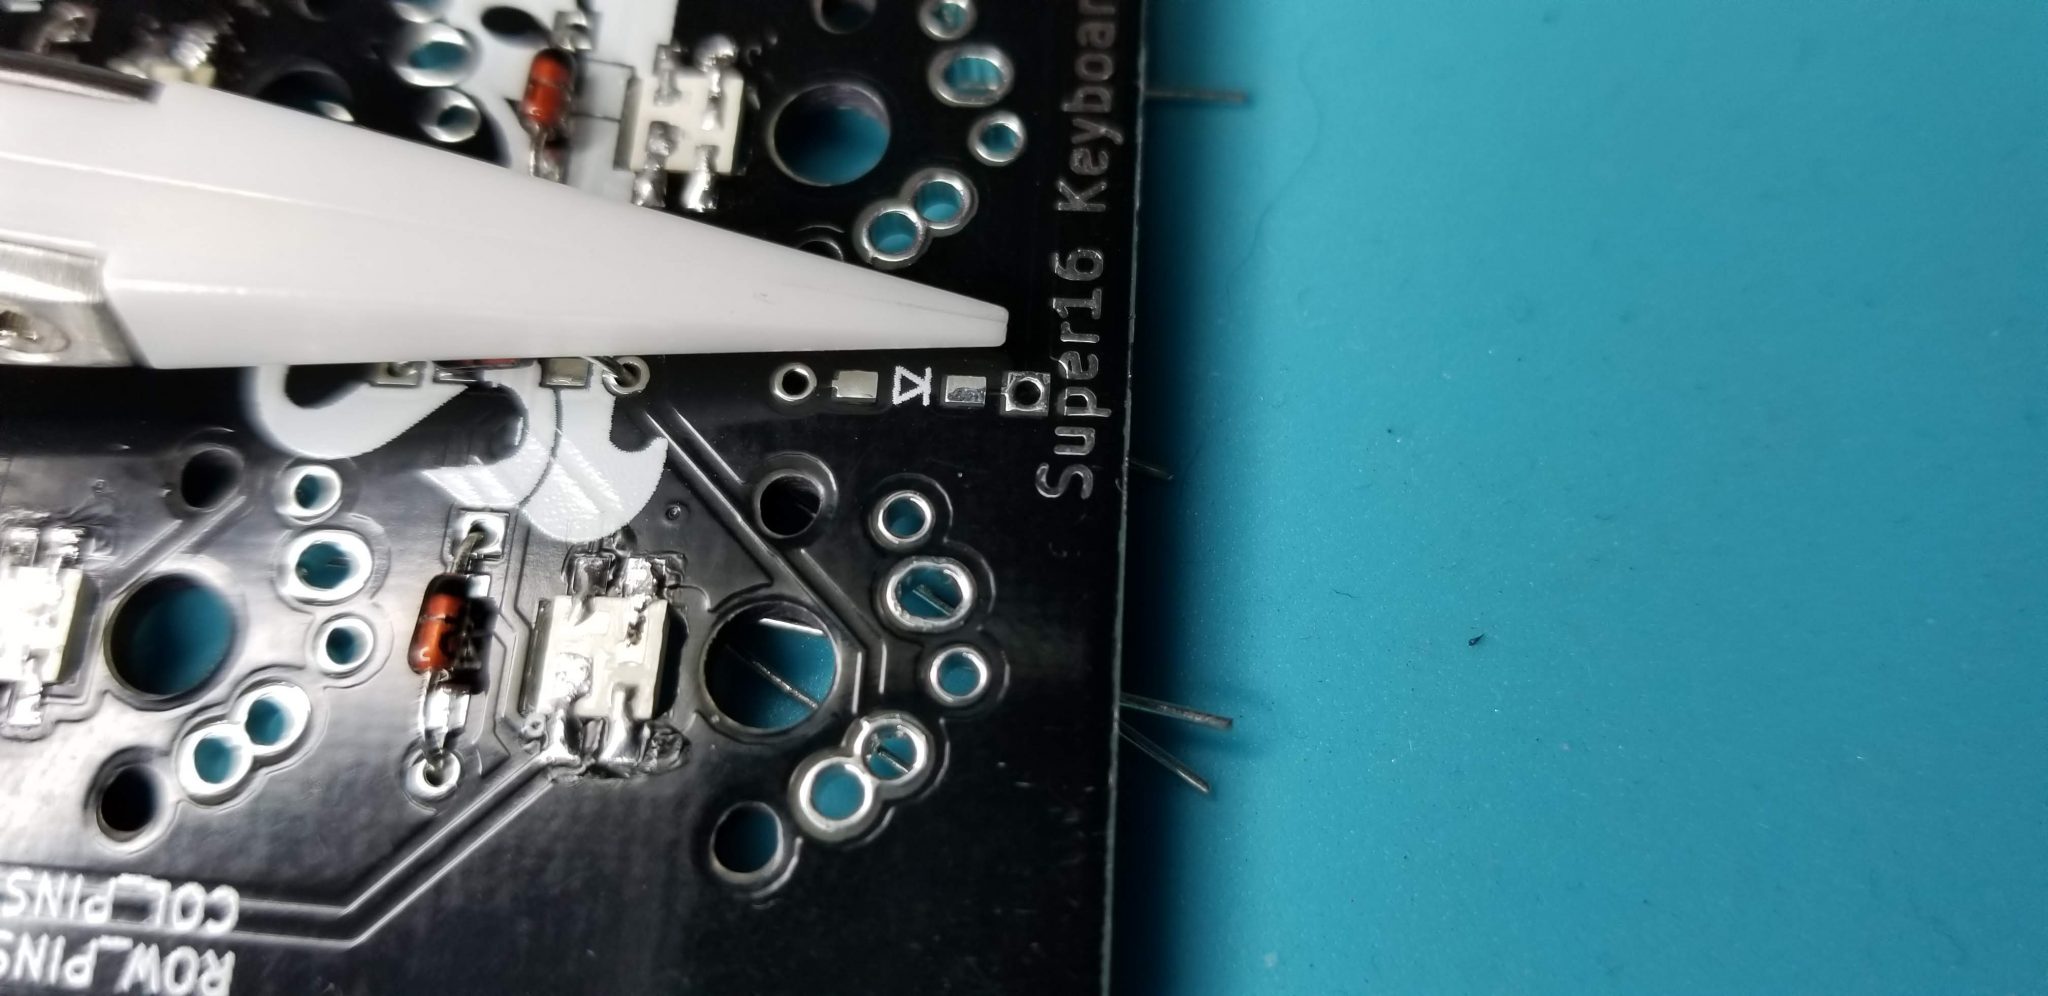
Note that the larger square pad is orientated near the small circle in the image below.
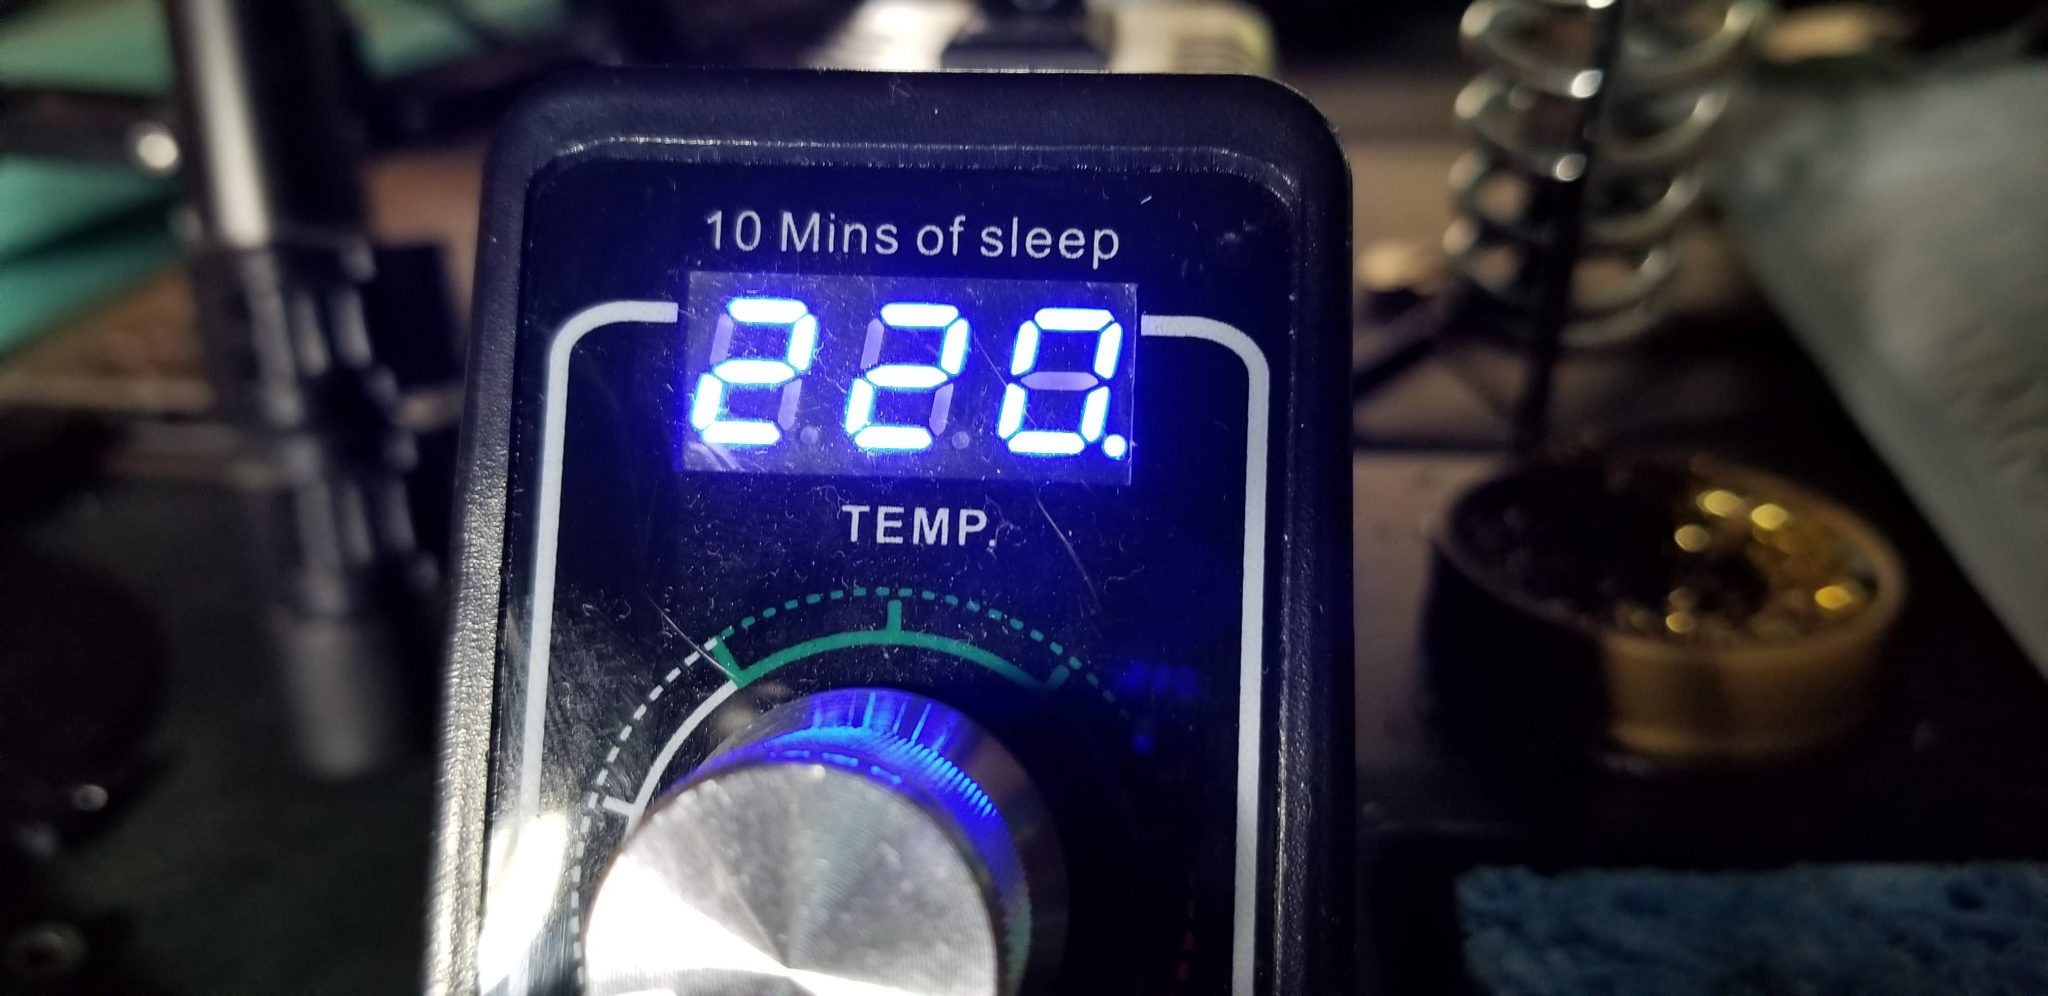
Leds are temperature sensitive. Soldering above 220C can damage the LEDs. A digital temp soldering iron is strongly suggested.
DO NOT EXCEED 220C WHEN INSTALLING
Ensure all the pads are soldered properly. After installing the Pro Micro you will not be able to correct any soldering mistakes.
Step 2:
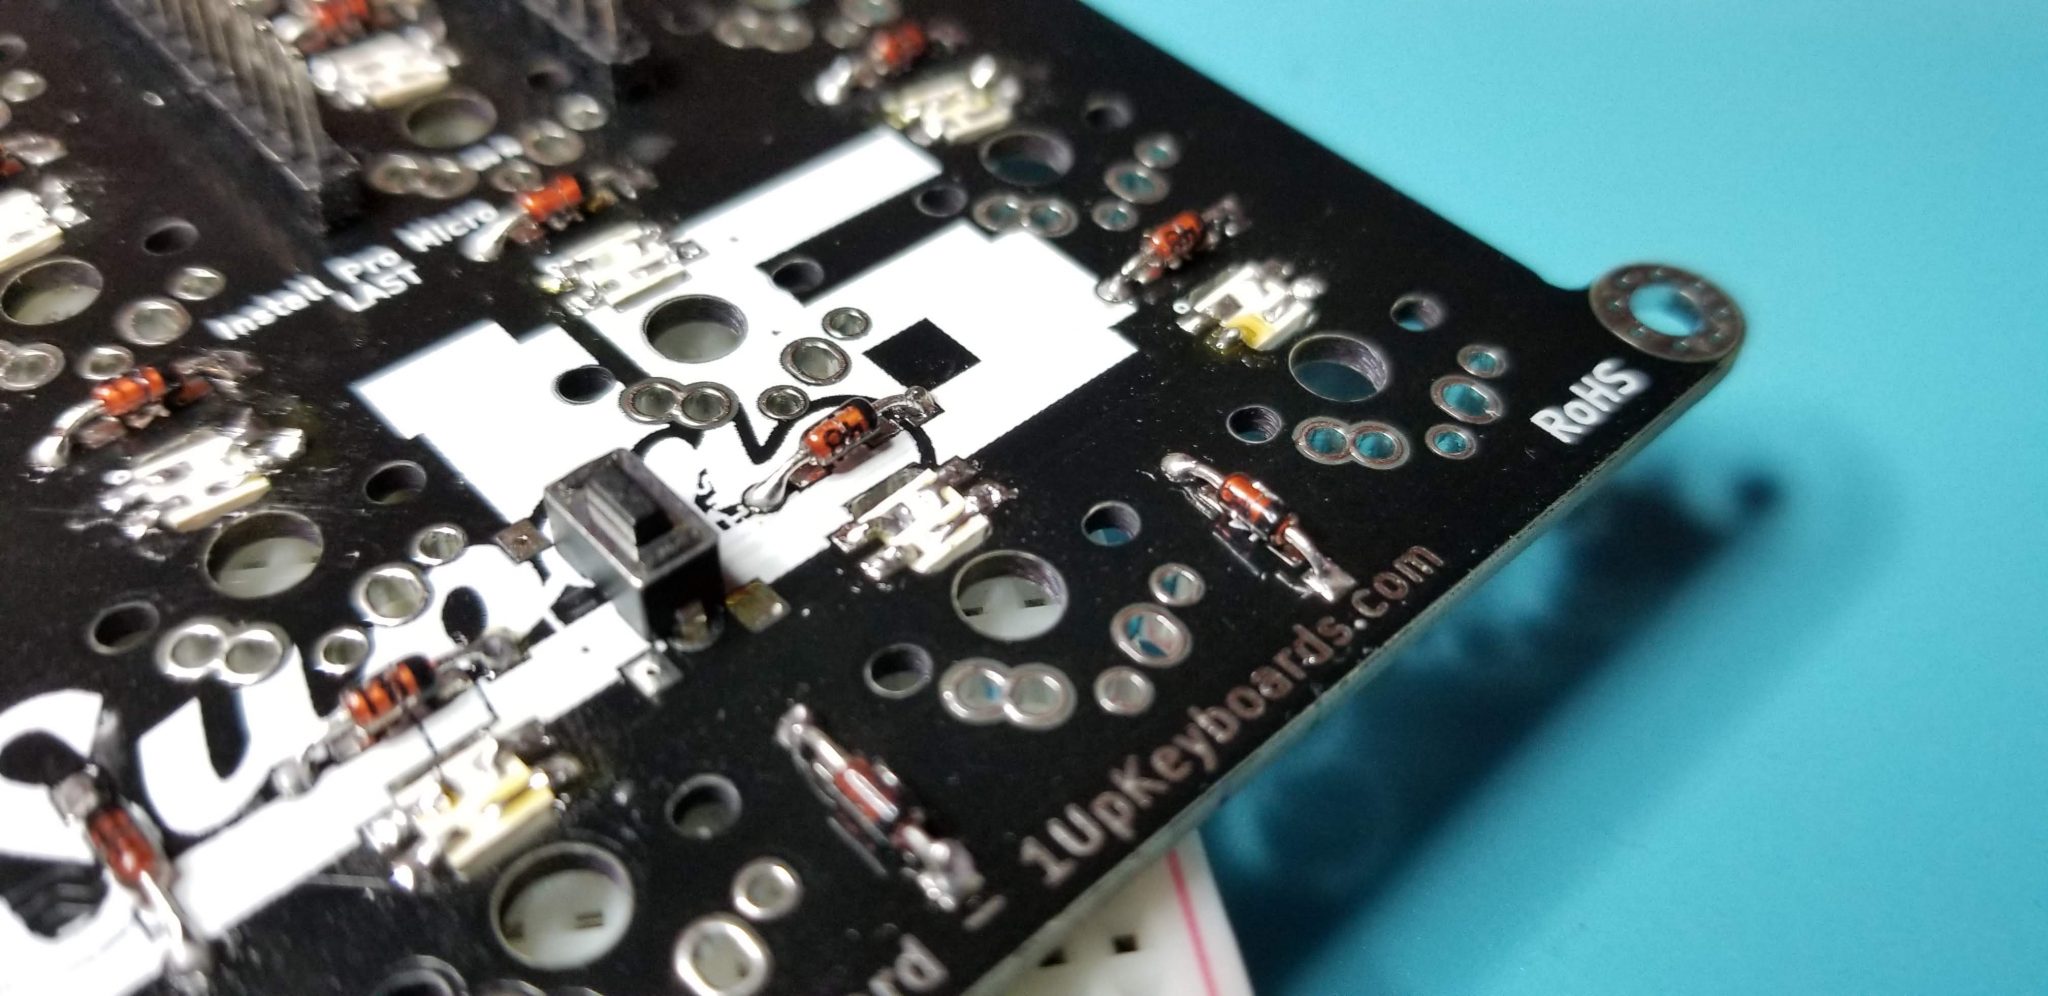
Install Diodes
Diodes are polarized, meaning they have to be orientated in the proper direction. Both surface mount and through hole diodes will have a line on them. This line should be orientated towards the square hole. See example below.
Step 2a:
If through hole diodes are used ensure to use flush cut snips to remove all the tails from the components on the opposite side.
Step 3:
Install reset switch (optional recommended)
Install a reset switch to make flashing your Super16 easier. You can also simply jump the two holes with a paperclip or other conductive metal.
Two types of reset switches are compatible. One will be included in your kit.
Step 4
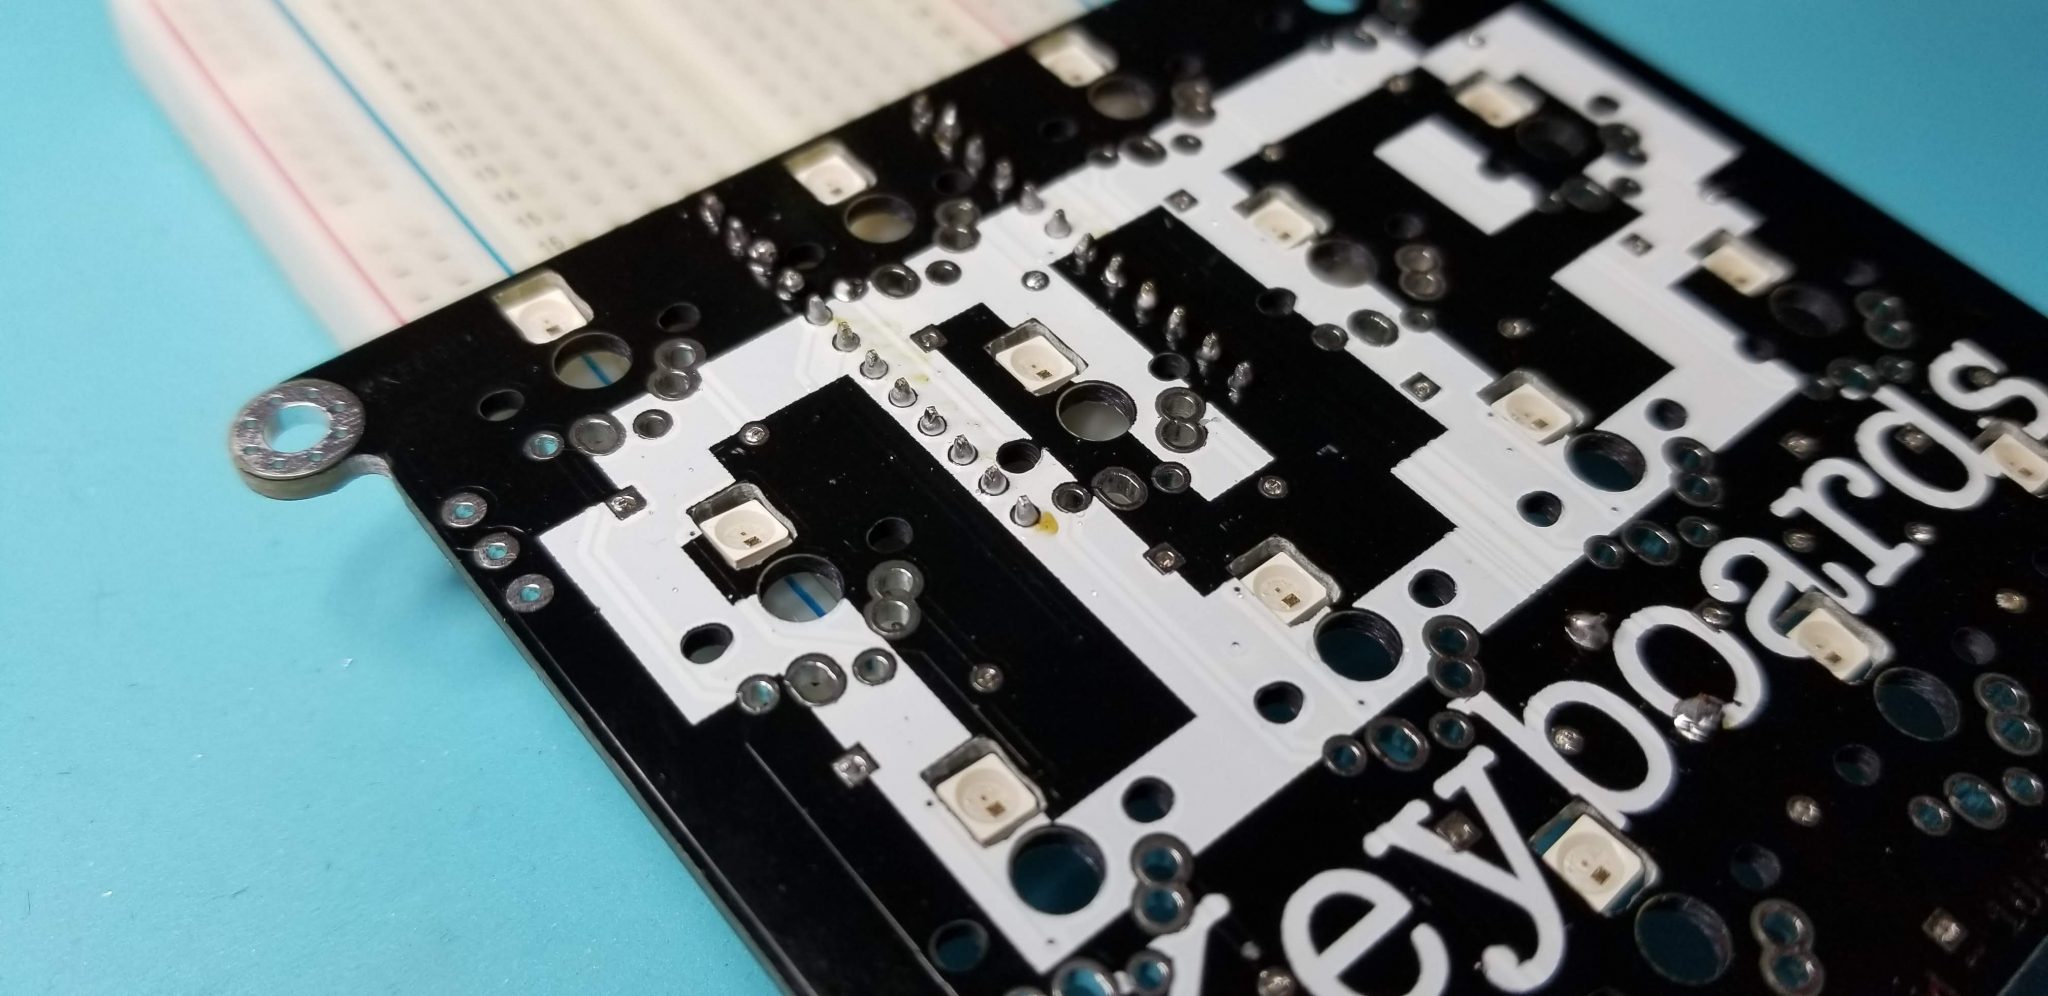
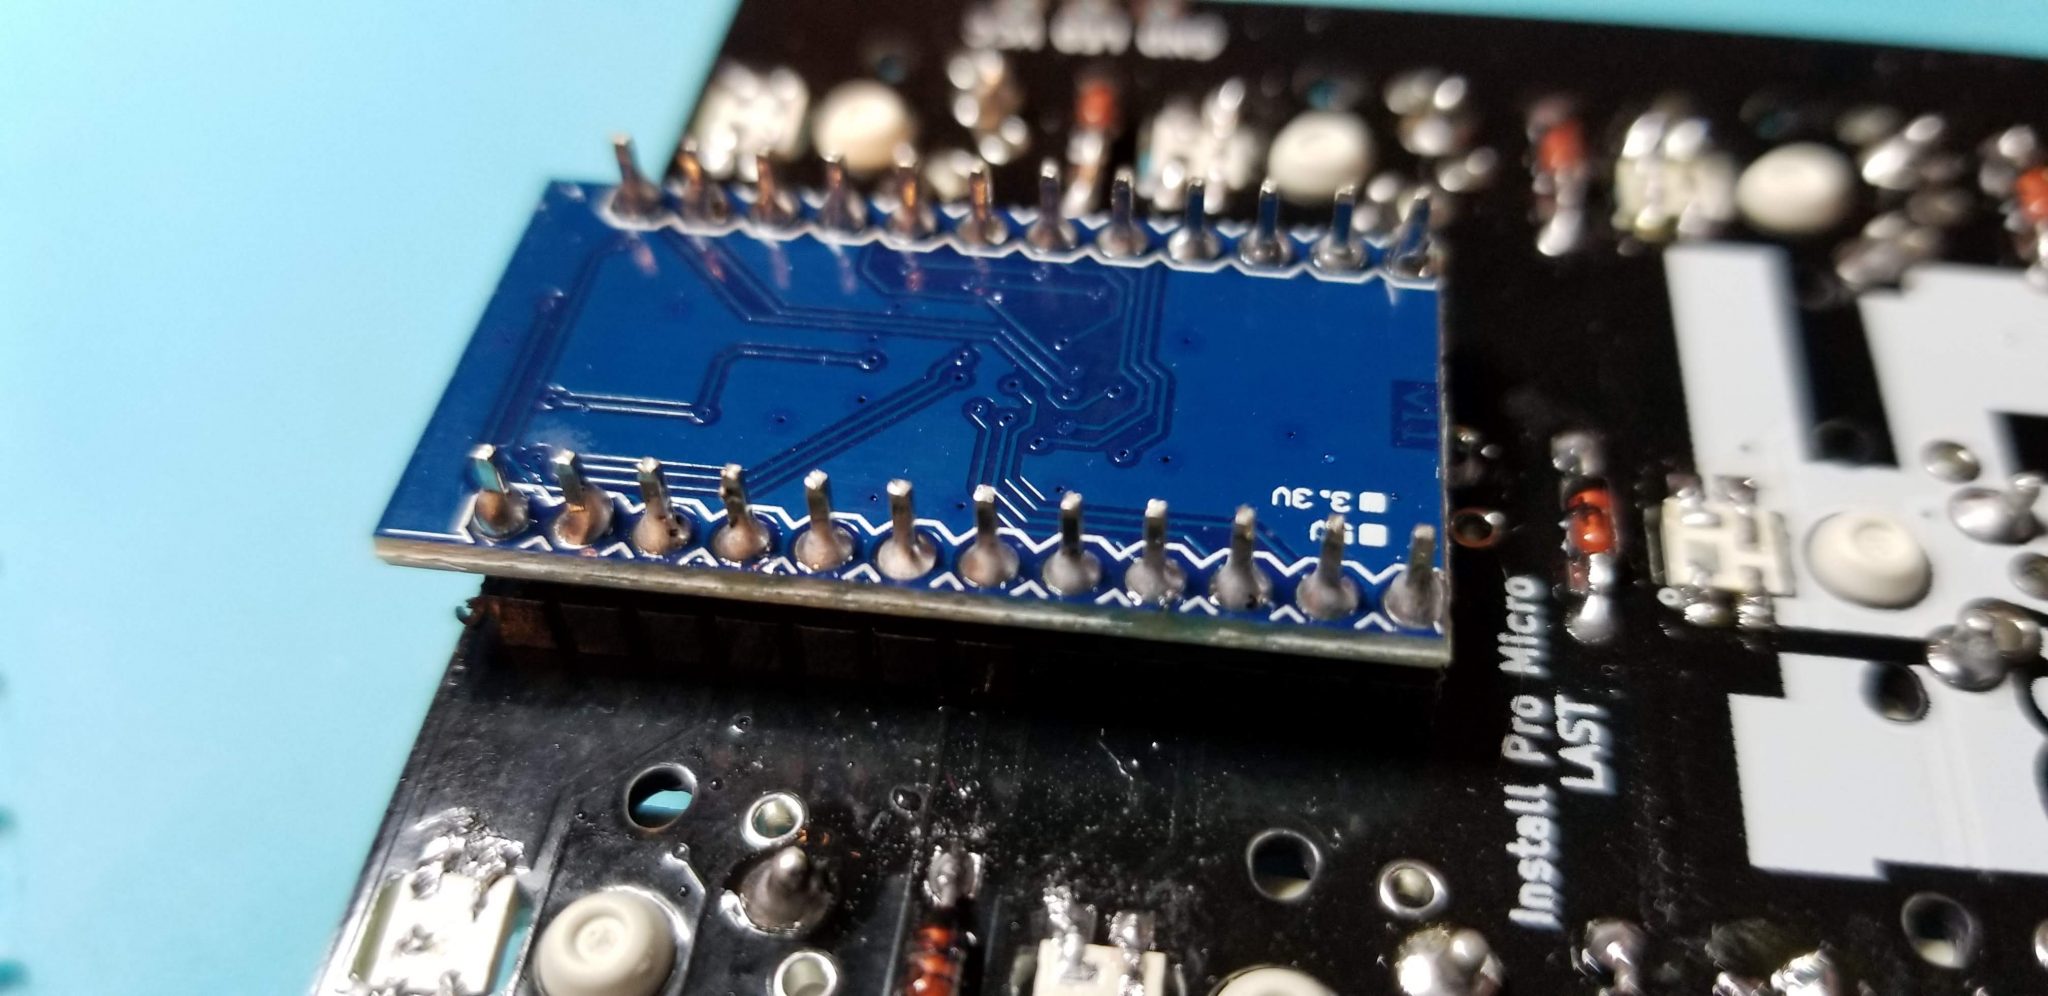
Install the through hole pins that connect the Pro Micro to the PCB. ensure that you Install them ONLY to the PCB. Pro Micro must be installed as the LAST step. Using a breadboard is recommended to ensure a uniform and straight installation.
Step 5
Install your choice of compatible switches.
Alps/Matias
Cherry MX compatible
PCB mount switches are recommended but plate mount switches WILL work taking care to install them straight.
Step 6:
Install your Pro Micro (NOTE: it is upside down compared to the Sweet16!!!)
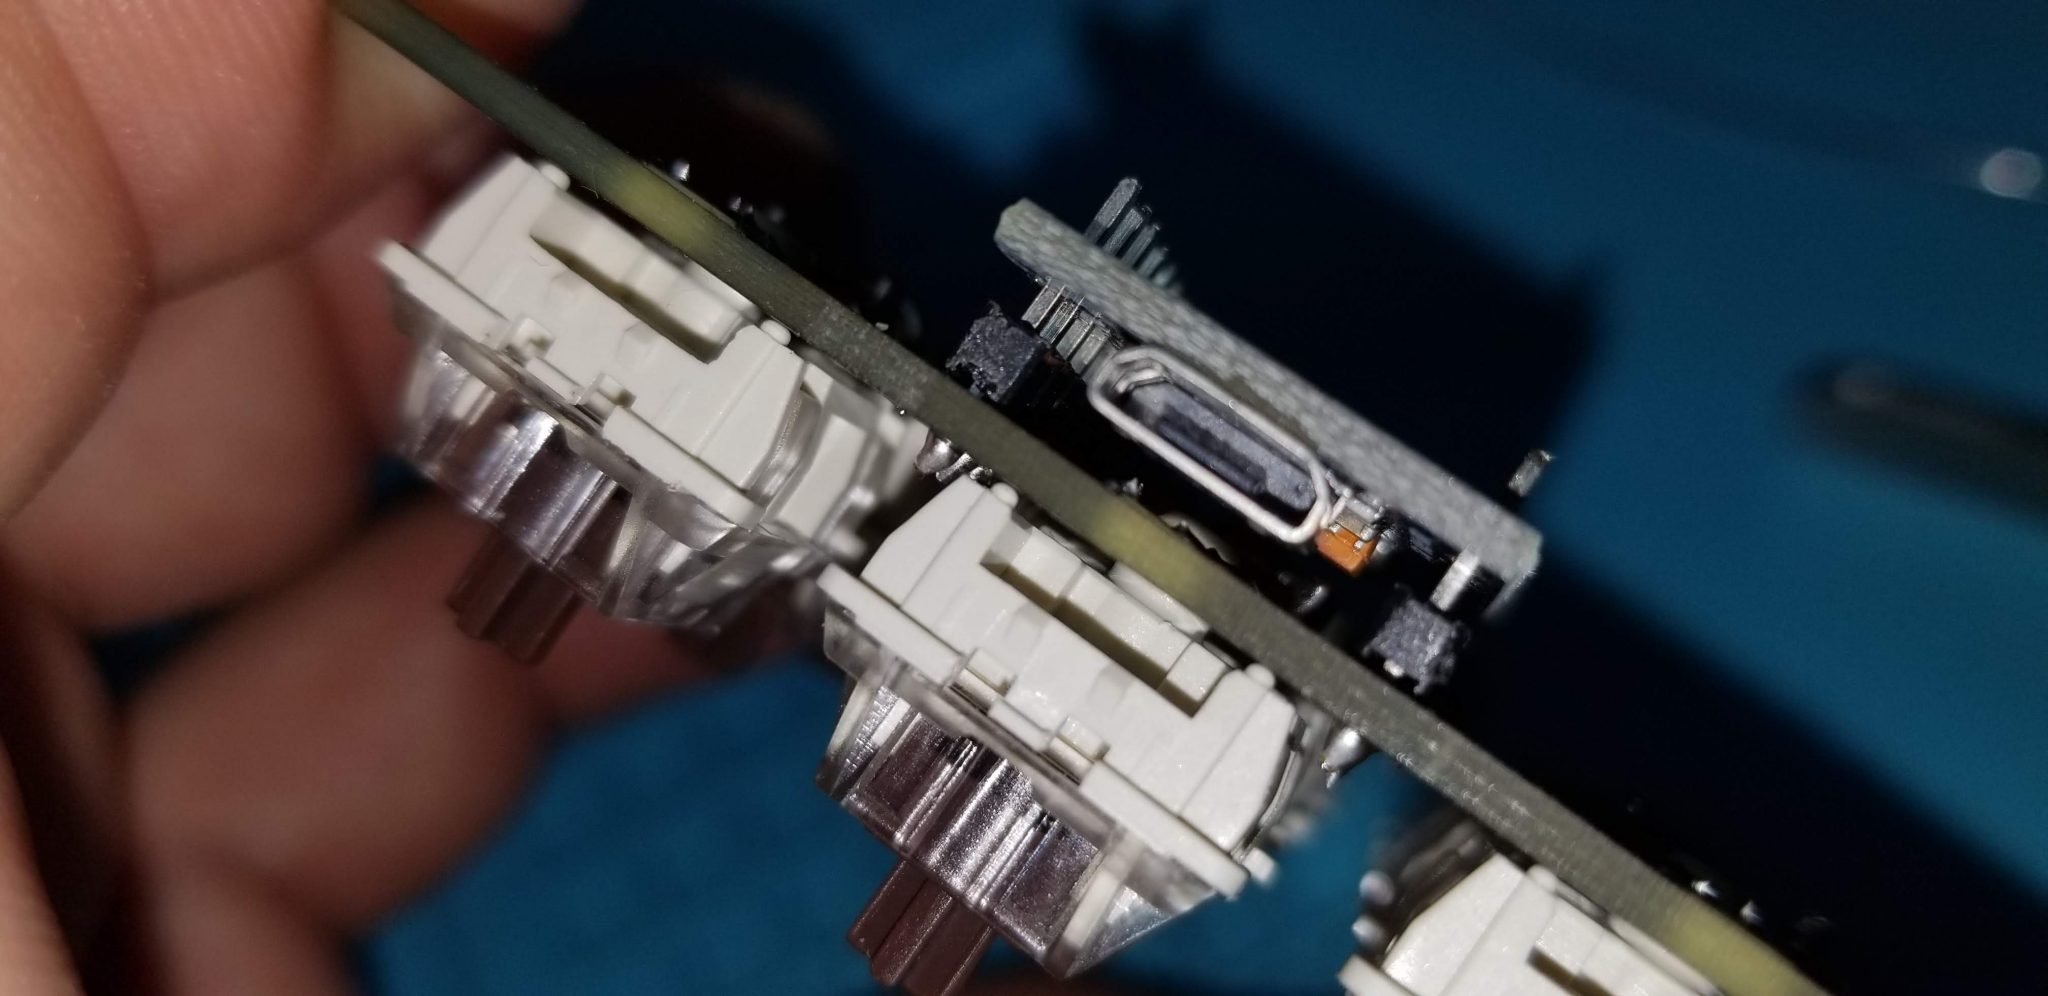
Ensure to leave a small gap to clear the LED contacts as show below. You can also use something to insulate the usb housing and LED pads. (electrical tape. Paper. etc)
Step 7 (complete):
Ready to Program? Here’s some great ways to get started:
Download QMK for the richest experience for programming the Pro Micro
Try QMK and add our library: https://1upkeyboards.com/super16.zip
Download a sample .hex here: super16_default.hex.To upload the hex onto the ProMicro, install the arduino software and avrdudess, then press the reset button.
- Need more help installing the software? Click here.
- Download the measurements as a .dxf here: sweet16.dxf
- 3D printed case examples: https://www.thingiverse.com/thing:2599909 https://www.thingiverse.com/thing:3127958
Follow Us
[et_social_follow icon_style=”slide” icon_shape=”rounded” icons_location=”left” col_number=”1″ outer_color=”dark” network_names=”true”]


