Sweet 16 Macro Pad Instructions
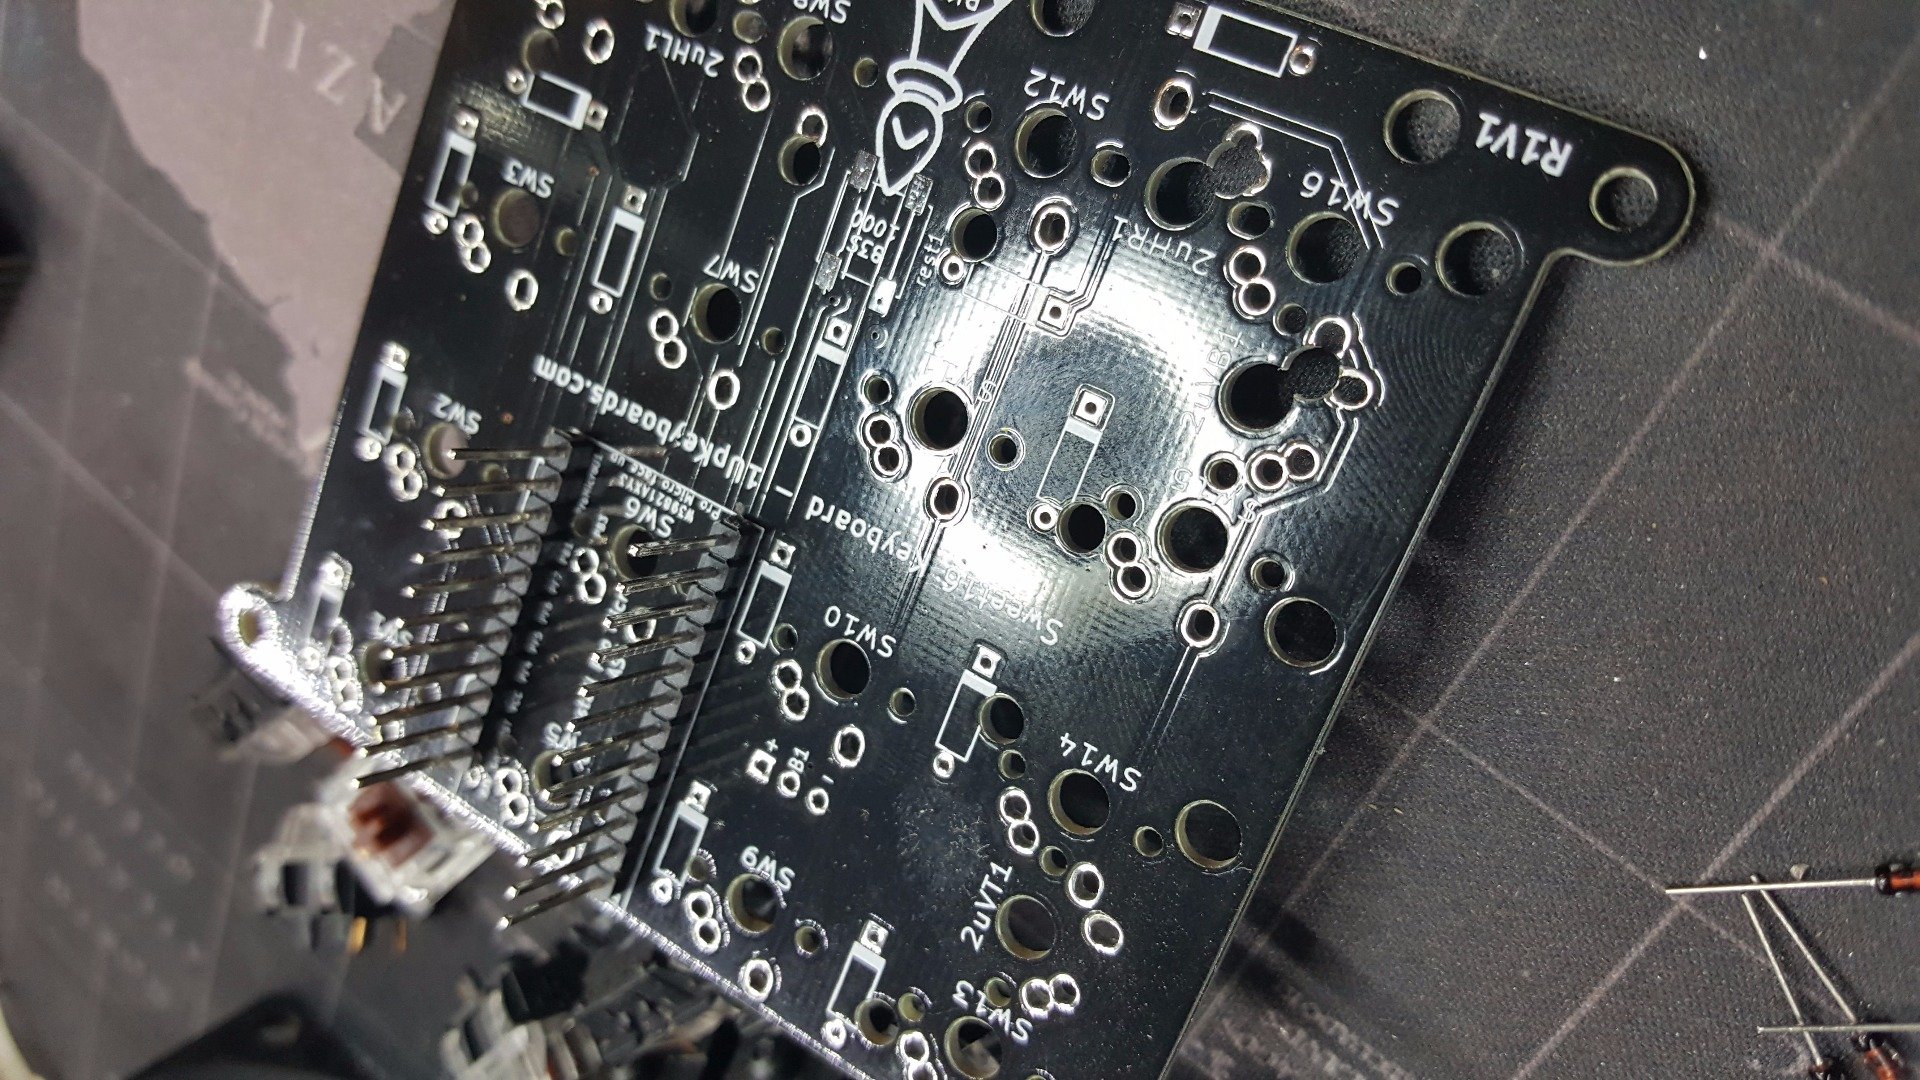
Step1: Insert and solder in the pins for the Pro Micro (tip use a breadboard or bluetack to hold them in place.
Step2: Insert and solder diodes. Note: the diode band should be oriented like the PCB marking.
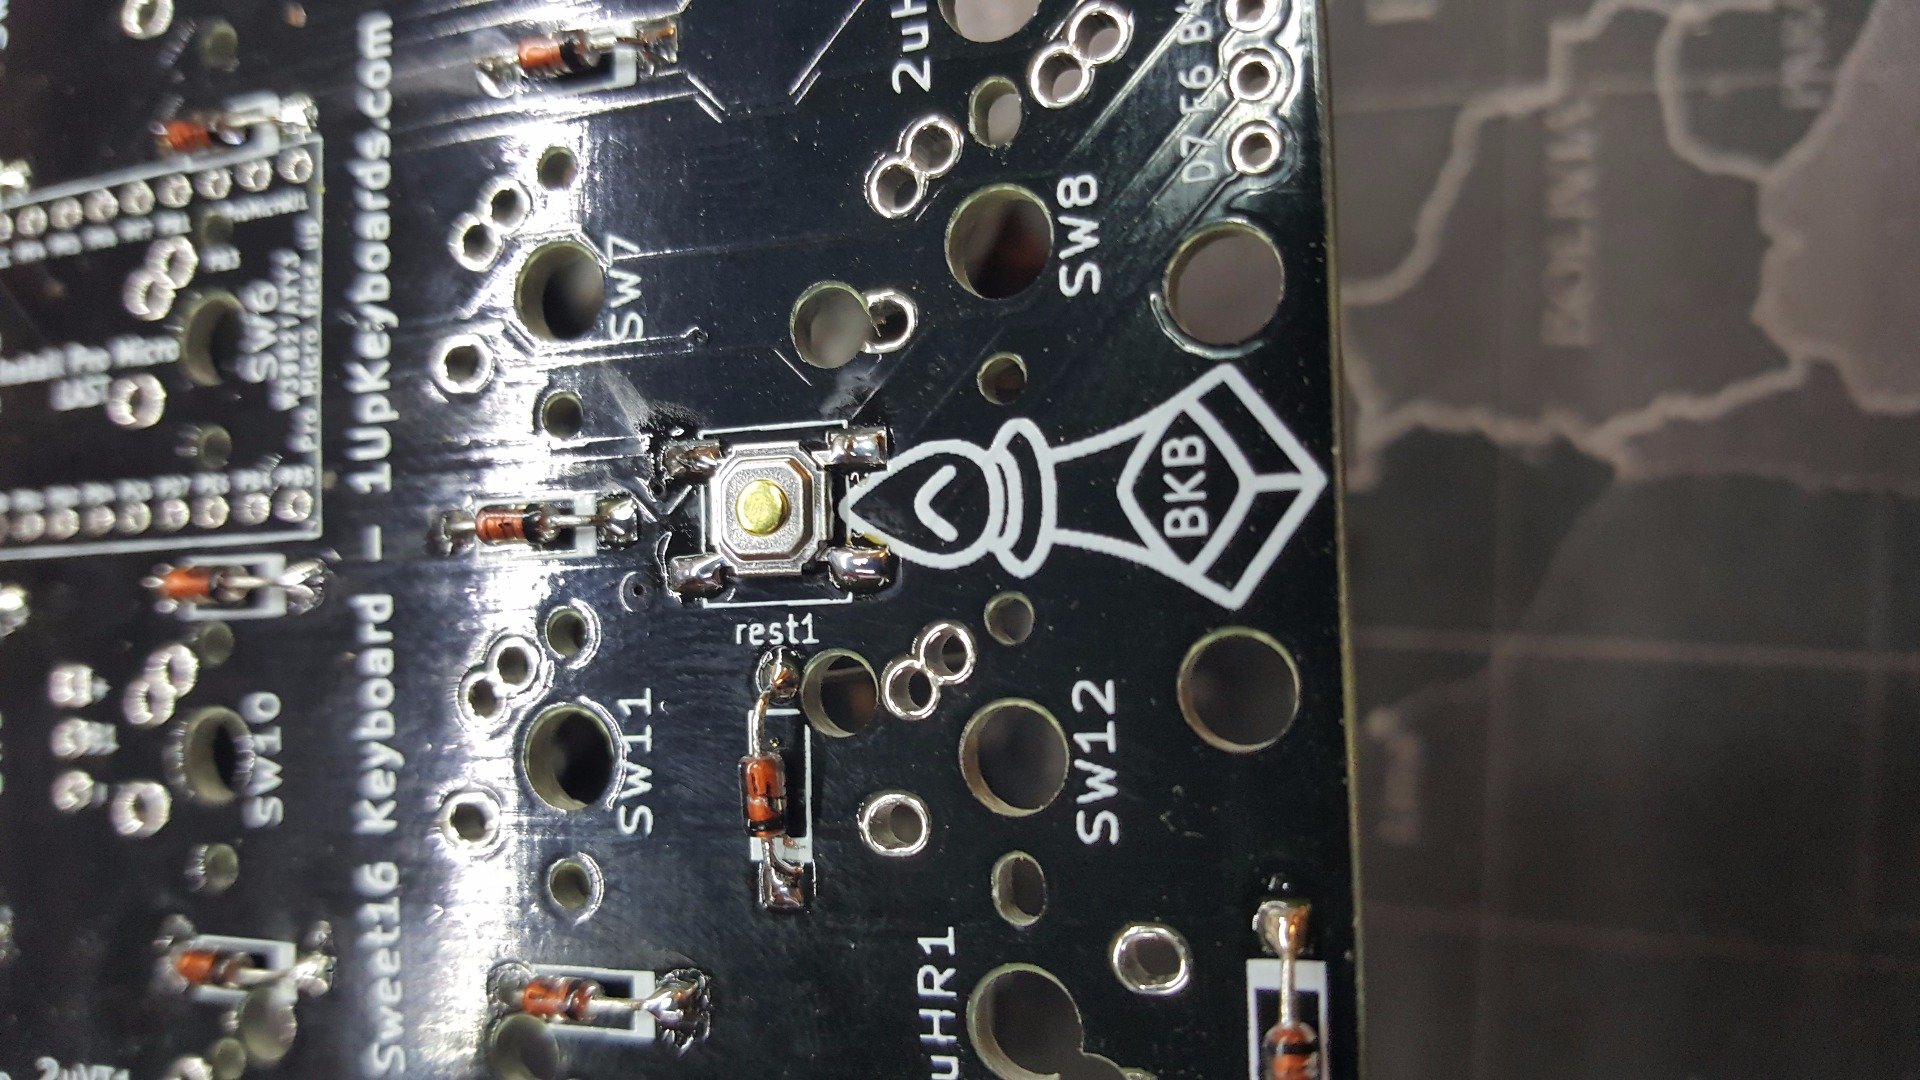
Step3: Solder the reset switch by adding solder to the pads
Step4 (for those with plastic cases): Attach red legs/standoffs
Step4a (for those with plastic cases): Insert switches through the top plate and into the PCB and solder.
Step5 (for those without plastic cases): Insert and solder switches.
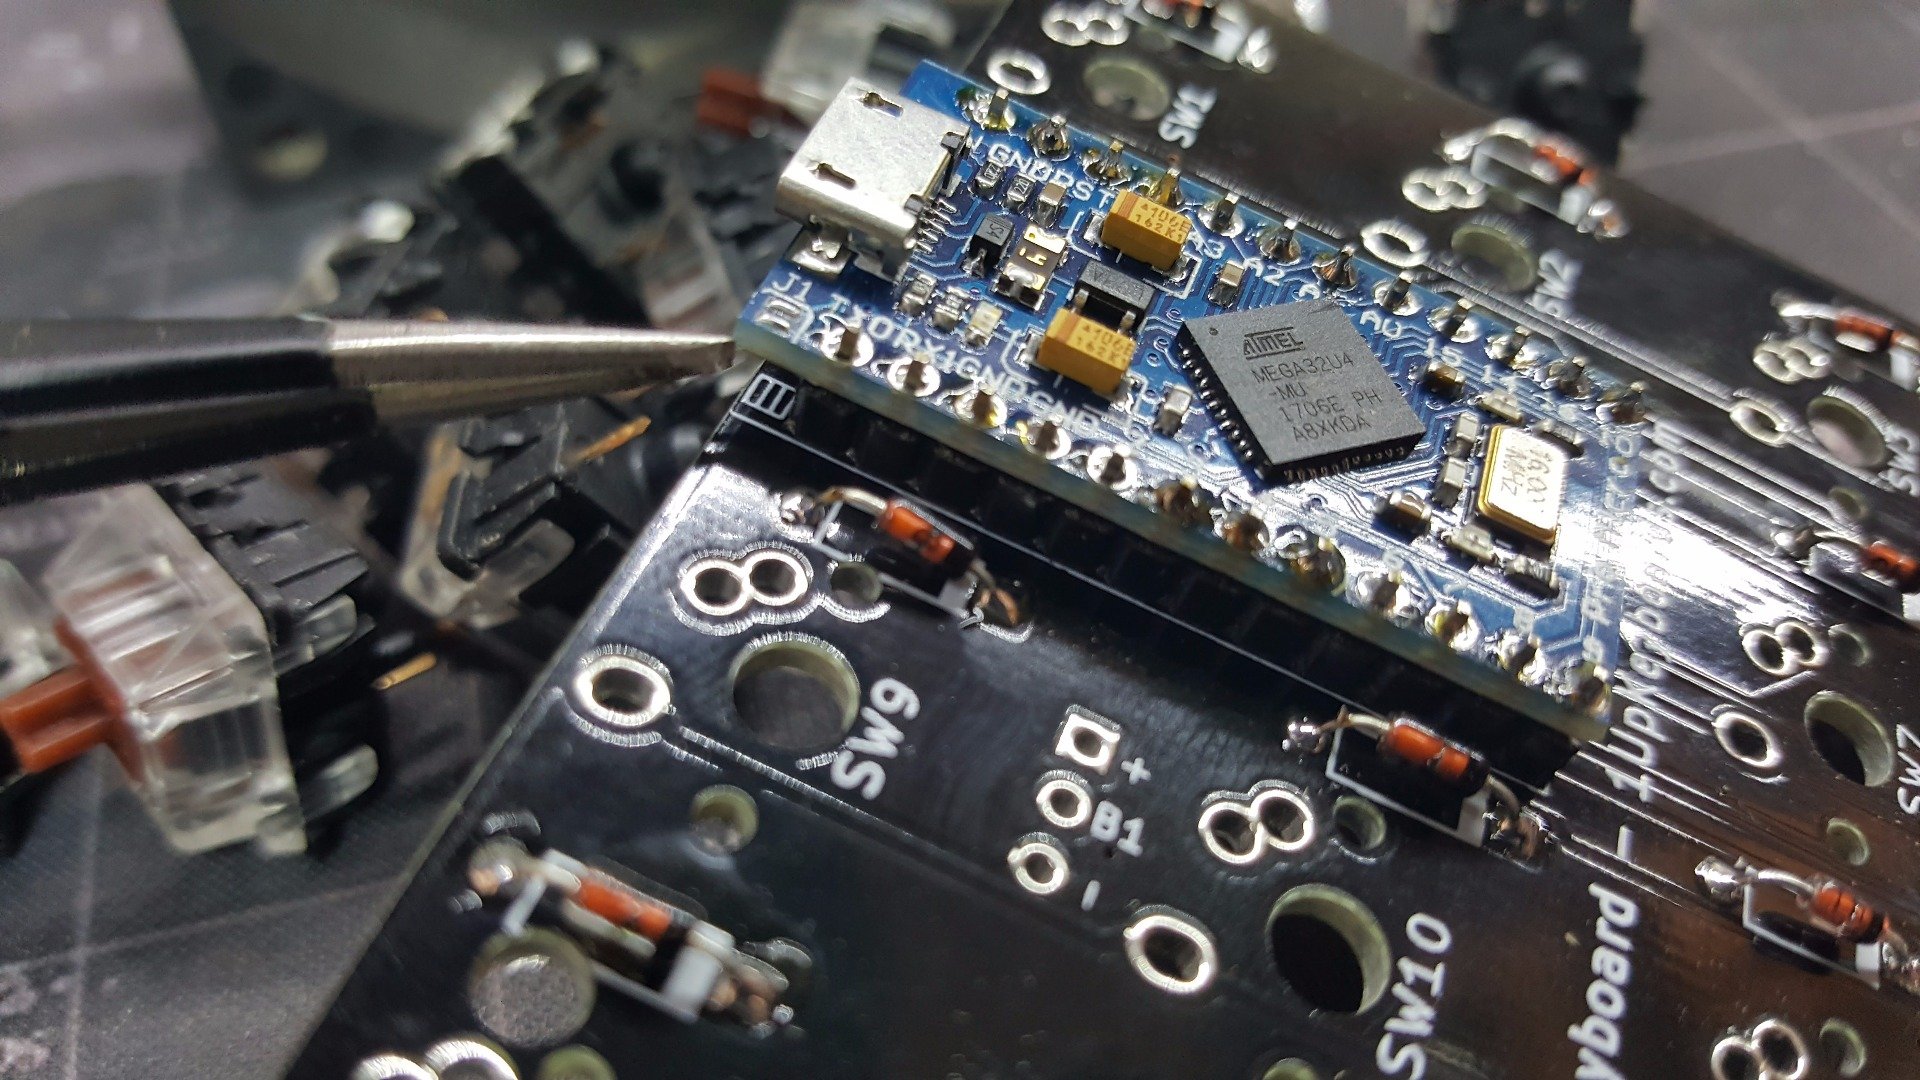
Step 6: Add Pro Micro.
Ready to Program? Here’s some great ways to get started:
Download QMK for the richest experience for programming the Pro Micro
Try the visual programmer with QMK: https://config.qmk.fm/#/1upkeyboards/sweet16/LAYOUT_numpad_4x4
Or use a web interface, by downloading the json here: sweet16.json which you can use at http://kbfirmware.com/. Or just download a sample .hex here: sweet16.hex.To upload the hex onto the ProMicro, install the arduino software and avrdudess, then press the reset button.
- Need more help installing the software? Click here.
- Download the measurements as a .dxf here: sweet16.dxf
- 3D printed case examples: https://www.thingiverse.com/thing:2599909 https://www.thingiverse.com/thing:3127958
Follow Us
[et_social_follow icon_style=”slide” icon_shape=”rounded” icons_location=”left” col_number=”1″ outer_color=”dark” network_names=”true”]


